Secret Pyjama Inari Tee Dress + 4 Tips for Making a Dress Reversible
Harts Fabric
This post has been generously sponsored by the lovely people over at Hart's Fabric. Thanks for sending this dreamy double gauze my way, Dana!
I've heard a lot of great things about double gauze. It's soft, lightweight, and super breathable. When Dana from Hart's Fabric got in touch with me asking me to make something super comfortable in celebration of National PJ day yesterday I knew I needed to give it a try.
Hart's has a lot of amazing double gauze in stock right now (like this Nani Iro print) that would make great options for spring and summer, but not all of them are heavy enough to be used for adult apparel. If you're new to working with double gauze like I am, I would recommend double checking your fabric choice would be suitable for a garment with Hart's customer service before purchasing it. I ended up choosing this linen-coloured version by Robert Kaufman. I thought the natural tones would work really well with other things I've got in my wardrobe.
Getting this package was actually the very first time I touched some double gauze in person, and let's just say it certainly didn't disappoint. It feels like a cloud. I can see why it's often used for baby projects, because who wouldn't want to wrap up a little critter in something so soft?

Super up-close shot of double-gauze. If you're not familar, this is what it looks like! Two layers of gauze that are intermidently sewn together.

When I opened the package I was genuinely surprised to see that the "wrong" side of the fabric was just as nice as the "right" side. I couldn't decide which side I liked better, so I asked on Instagram which I should choose. The results were split pretty much down the middle, but a couple of super-savvy commenters suggested making the project reversible. While I've never tackled a reversible project before, it seemed like a great way to solve my indecisiveness - Two comfy dresses for the price of one!
Side 1: The OG Taupe


This side of the dress is all taupe. I love the beautiful texture the double gauze gives this look - it's delightfully wrinkly. I sewed the 0 and graded to a 2 at the hips. Truthfully, I could have gone with a size up everywhere, but the double gauze has a little bit of give that makes the fit forgiving.
Side 2: The White Wonder


On the white side I played around with adding taupe accidents to the neck, hem, and sleeves. I love the finished results!
Tackling this project was a lot easier than I thought it would be. I picked up four major tips along the way for making a comfy reversible dress like this. Here's what I learnt:
Four Tips for Making a Dress totally Reversible
Tip 1: Chose a simple pattern
While making a dress reversible isn't super duper difficult, there are some special considerations that make it a little more complicated than your average project. For this reason, I would recommend choosing a super simple pattern. I went with Named Clothing's Inari Tee Dress because it has no darts and no closures - easy peasy! Plus it's a cult-classic casual sewing pattern, so I knew I would be in good hands.
Other easy, effortlessly chic sewing patterns that would make great reversible dresses include Grainline's Scout Tee, Farrow Dress, and Willow Tank (can you tell I'm on a Grainline kick today?). None of these patterns have darts or closures.
An added perk to picking a simple-chic dress is that, in my opinion, simple patterns are usually the comfiest to wear. If you're looking to make a reversible dress that doubles as secret pajamas (and why wouldn't you) keeping things simple is a great way to get there!
Tip 2: Pick a reversible fabric
This dress is easy to make reversible because the fabric itself is reversible. Pick a fabric with two "good" sides for best results when following these tips. While it is possible to make a reversible garment using two layers of fashion fabric, that's not what I'm covering in this tutorial.
If this linen colour way isn't your jam, Hart's has some other nice options for reversible fabrics that would make an AMAZING secret pajama dress.

Line 1: Linen/Marine/Black
Line 2: Double Jersey/Stripes (also available in a smaller stripe)/Ponte
Tip 3: Flat Fell all your seams
The real, big secret to making a dress reversible is to flat fell your seams. This will make your seams look AMAZING on both sides.
Before I undertook this project I thought that this seam finish was really difficult - probably because I associate it with jean-making which still seems intimidating to me. Good news is it's actually really easy. Here's how I did it:
How to Flat Fell Your Seams
Essentially what we're doing in the next few steps is wrapping a wider side of the seam allowance around so it incloses the narrower one - super simple!

Step 1: Sew right sides together.
Following your pattern's directions, sew right sides together at the instructed seam allowance.

Step 2: Trim one side down by half
Trim one of the sides of your seam allowance to a little smaller than half of it's previous size. Press your seam so that this smaller side is facing up.

Step 3: fold the longer side over top of the shorter one
What we're looking to do here is completely enclose the narrower side of the seam allowance with the longer side. Fold your longer seam over the narrower one and press it down into place. When done properly, your narrower side should be completely hidden.

Step 4: Press the seam over to the other side
Turn the seam allowance over to the other side so that the longer side of the seam allowance is facing up. Your fold will be completely hidden now. Press into place.

From the right side.

From the wrong side.
Step 5: Stitch it down
Stitch along the fold line of your seam allowance. This will secure your seam into place. Give it a final press and you're finished!
Optional: Adjust the seam allowance + finish the raw edges (Optional)
Flat felling requires a little bit of folding to make the seams work. If you're working with a fabric that frays easy, like double gauze, this can be a little difficult to do. One thing I found that really helped was to serge all raw edges to give them some bulk first. You could also do a zig-zag along the edge if you don't have a serger.
I didn't do this step in this tutorial below, and you can see the edges fraying and being a little unruly in the photos. I did this extra step on every seam of the dress except for one of the sleeves and it makes a big difference in how easy it is to proceed with sewing AND how smooth it lays when you're finished, so I really recommend it even though it's not a standard part of this seam finish.
Before finishing the edges, you'll need to add a little more than the width of your seam finish to one of the sides. This will allow you to wrap it more easily around the other later. This means that when you sew right sides together in Step 2, one edge will already be longer than the other, eliminating the need to trim one side down in Step 3.

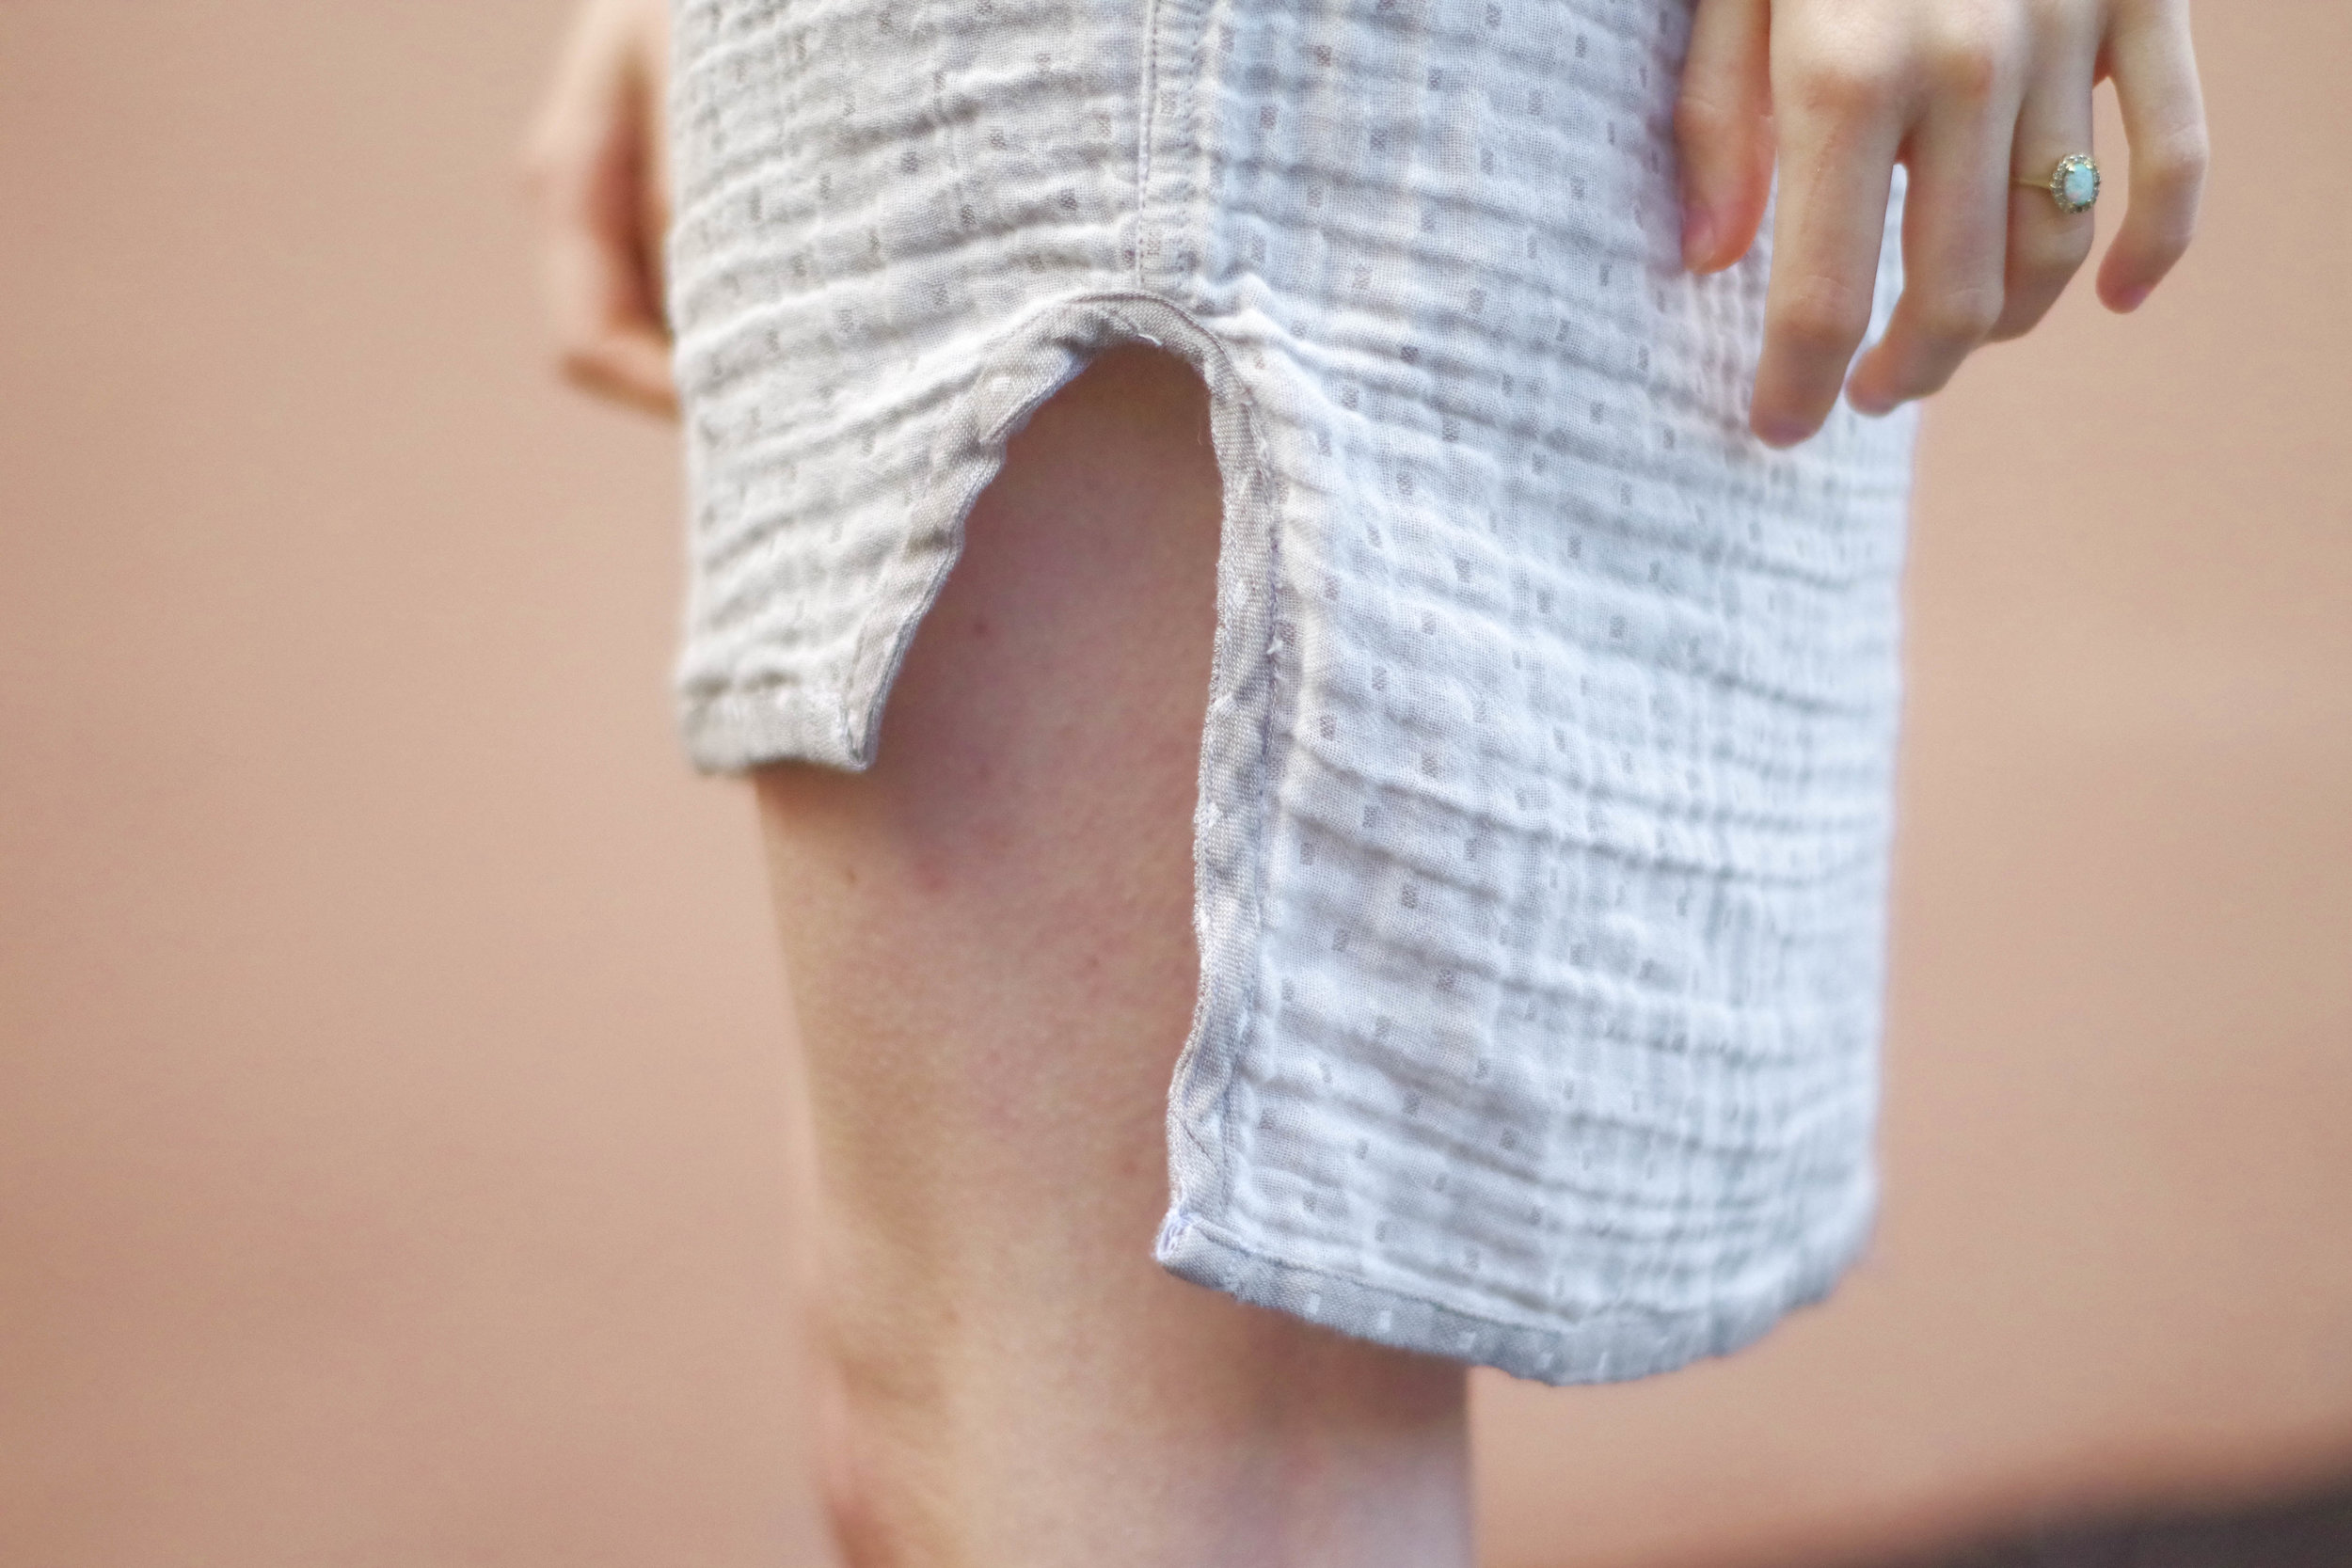
Tip 4: Use bias tape to finish your hems, necklines and armholes.
Using bias tape instead of facings was an easy way to keep this reversible dress looking great. I opted to use double-fold bias tape made from the taupe fabric here and used it on the neckline and hem. This created a little coloured pop on the white version. You could also use single fold bias tape to eliminate the coloured pop.
Since the Inari came with arm bands, I cut double so each sleeve could have one on either side. It's a little bulky, but totally worth it.

Whew! Does this constitute as a mini sew-along? Thanks for stickin' through right until the end. Have you made anything super cozy lately? In celebration of National PJ day I would love to see your favourite secret PJs down below!