Itch to Stitch Holiday Blog Tour: Glamorous Sirena Blouse + Tutorial
Itch to Stitch | STYLE MAKER FABRICS
It's the most wonderful time of the year, friends!
With the end of exams and the holidays on the horizon, there's no better way to celebrate than a blog tour! I'm here today to share a make for the Itch to Stitch Holiday Blog Tour using some of Style Maker Fabric's new holiday fabrics. I was kindly sent the pattern and the fabric as a part of the tour, but don't worry, all opinions are my own.
On first glace I know you're probably thinking, "That doesn't look like the Sirena Dress".
Allow me briefly explain what happened.


When I was asked to pick a pattern for the tour, I knew immediately I wanted to make up a Sirena dress. I've been dreaming of making one ever since the pattern was released - the bell sleeves are gorgeous! I could picture wearing it to a fancy Christmas party, or even wearing it at an office in some nice suiting.
But, unfortunately, with my lifestyle right now, I don't really have the place to wear such a sophisticated dress. Jeans and a shirt of some description are my daily uniform.
Even with the holidays coming up, I didn't have a single fancy event that would warrant me making the Sirena Dress - I'm sure at least one of you reading has to be in the same boat on this one!

I briefly considered making something else but in my heart I knew it was clear: I needed to hack the Sirena Dress into something more casual but still glamorous. Something I could wear to a laid-back Christmas brunch, easily decorate my tree in, and comfortably run last-minute holiday errands in while still feeling a little festive and special.
I've hacked up some of Kennis' patterns in the past and always feel comfortable making modifications to them because I know the drafting is solid. Her sizing includes busts as small as 30 1/8" and offers A-DD cup sizes, making it an absolute dream to fit. The Sirena dress also has the same, highly-professional instructions that Kennis is known for.
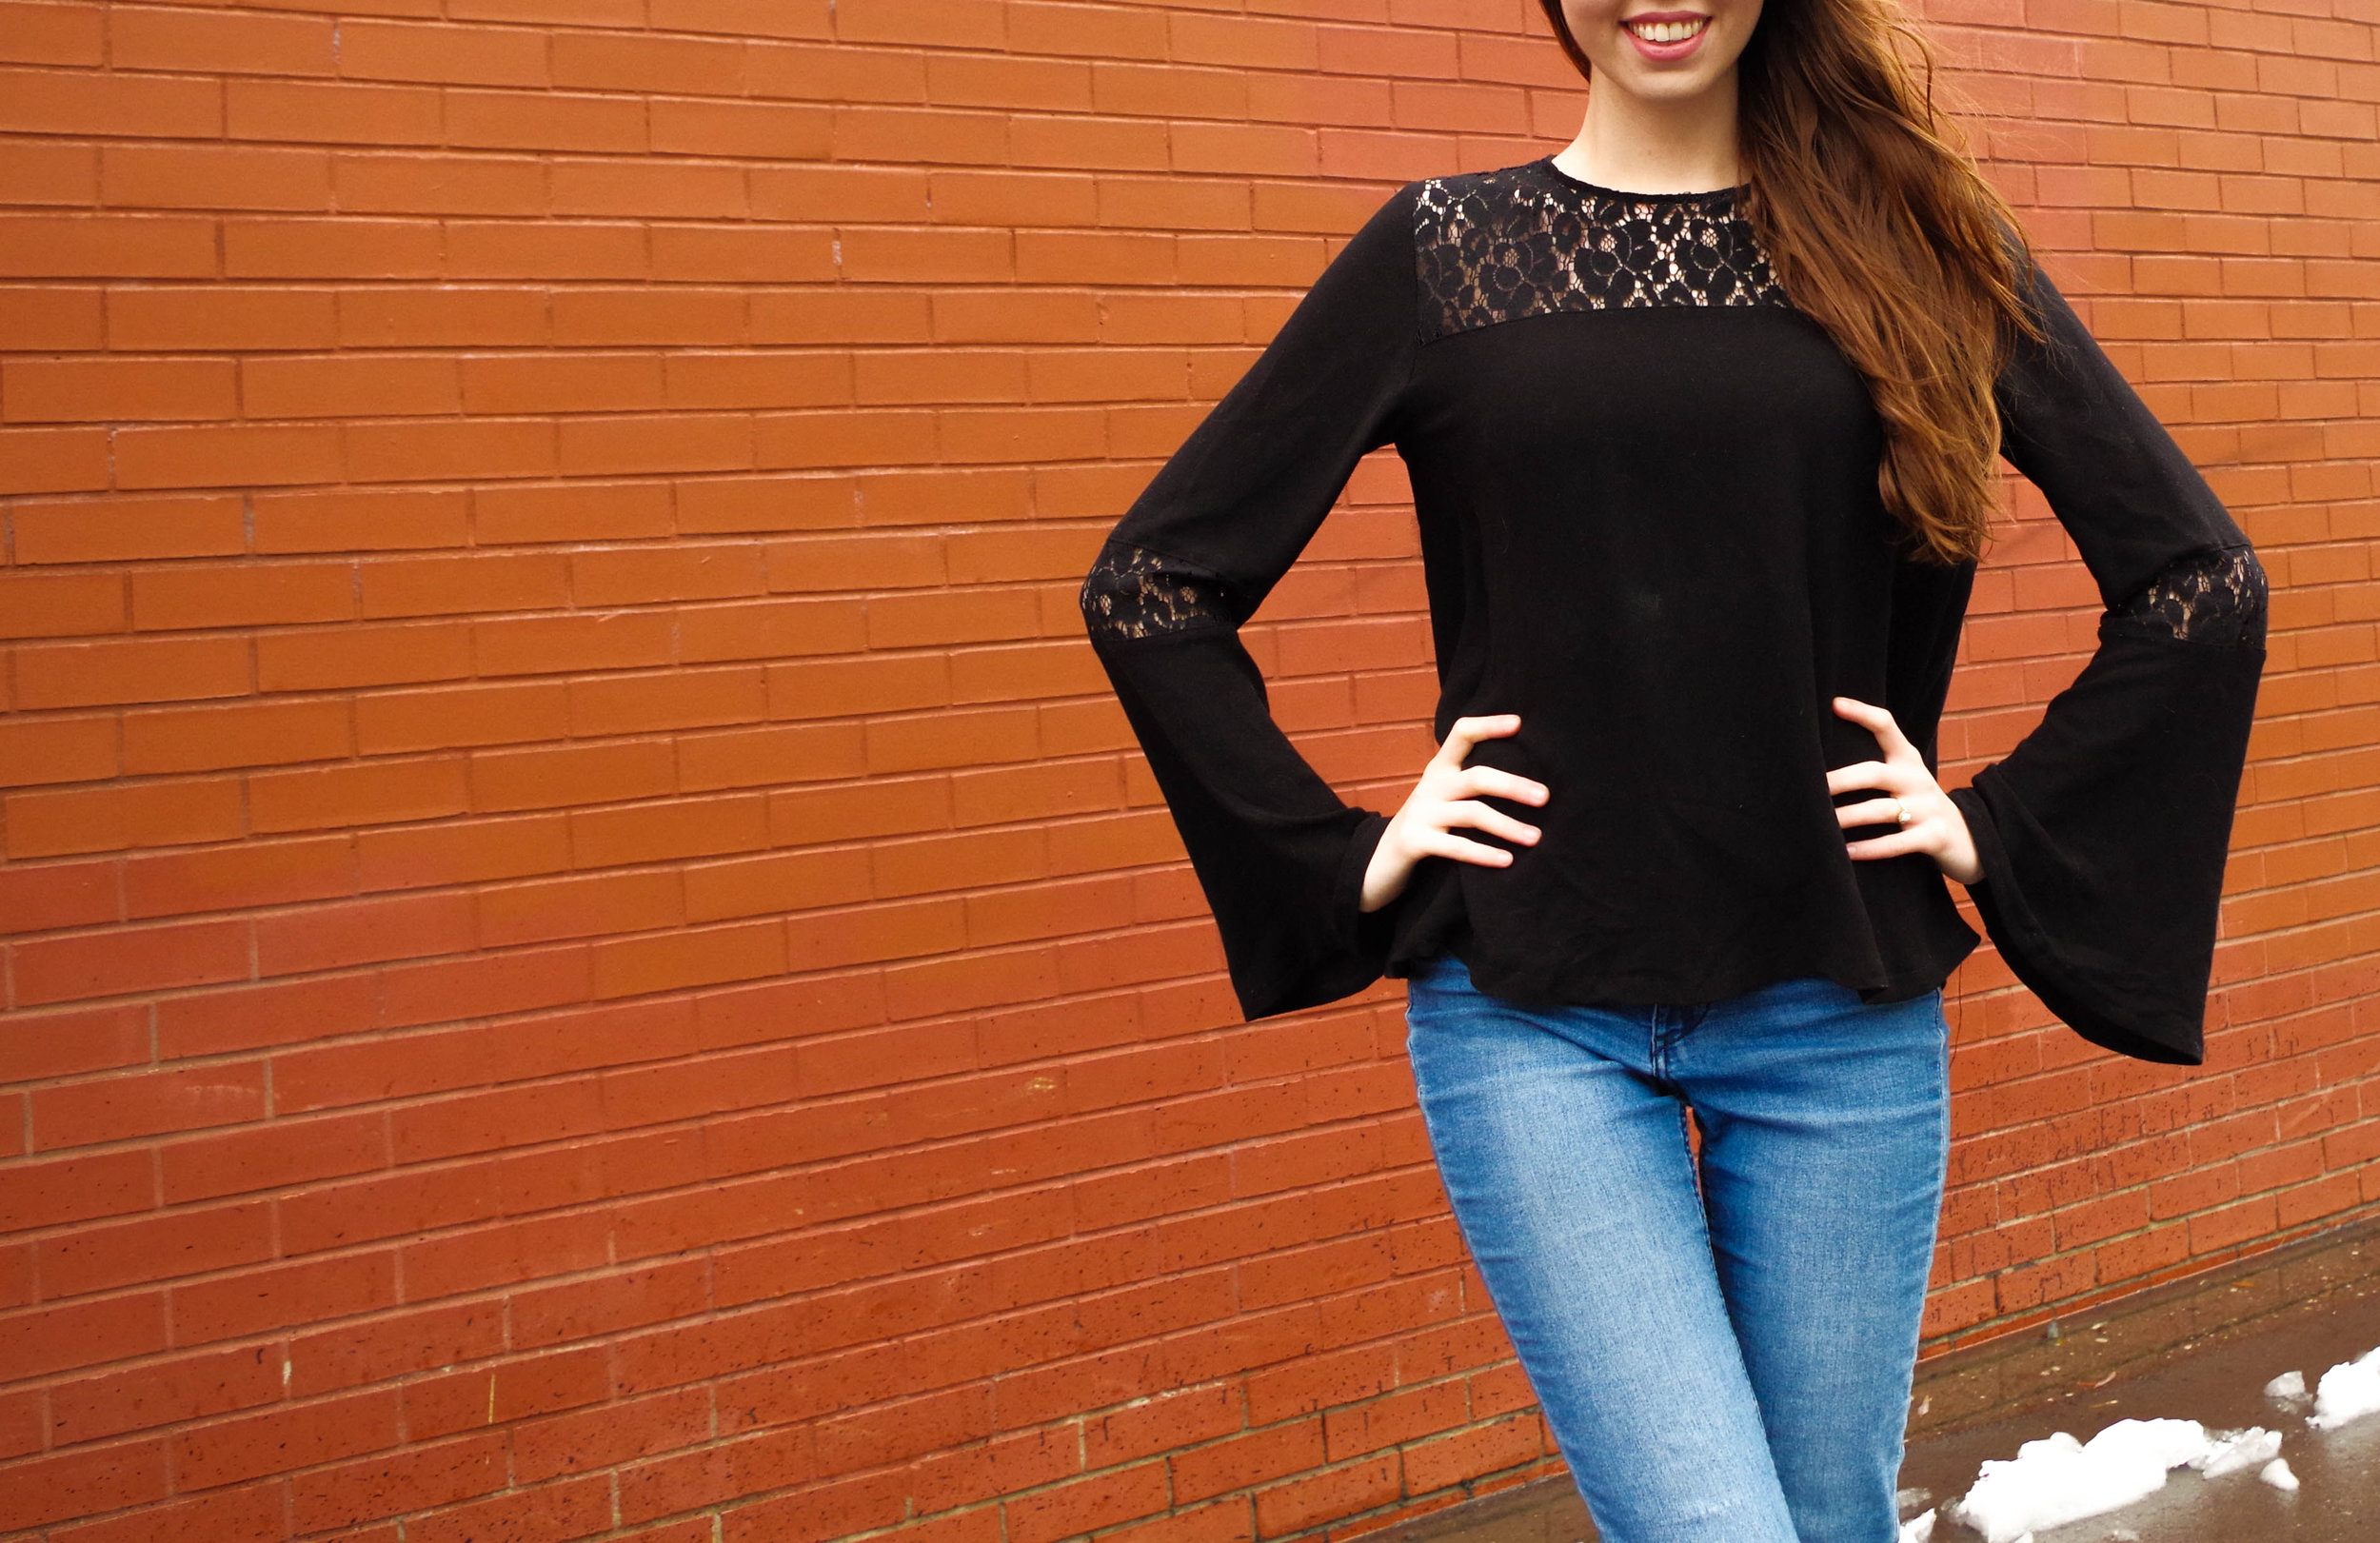
I cut out a size 00 C and got hacking, and this is what I came up with. A swing-y, long sleeve, Sirena Blouse with lace yokes.


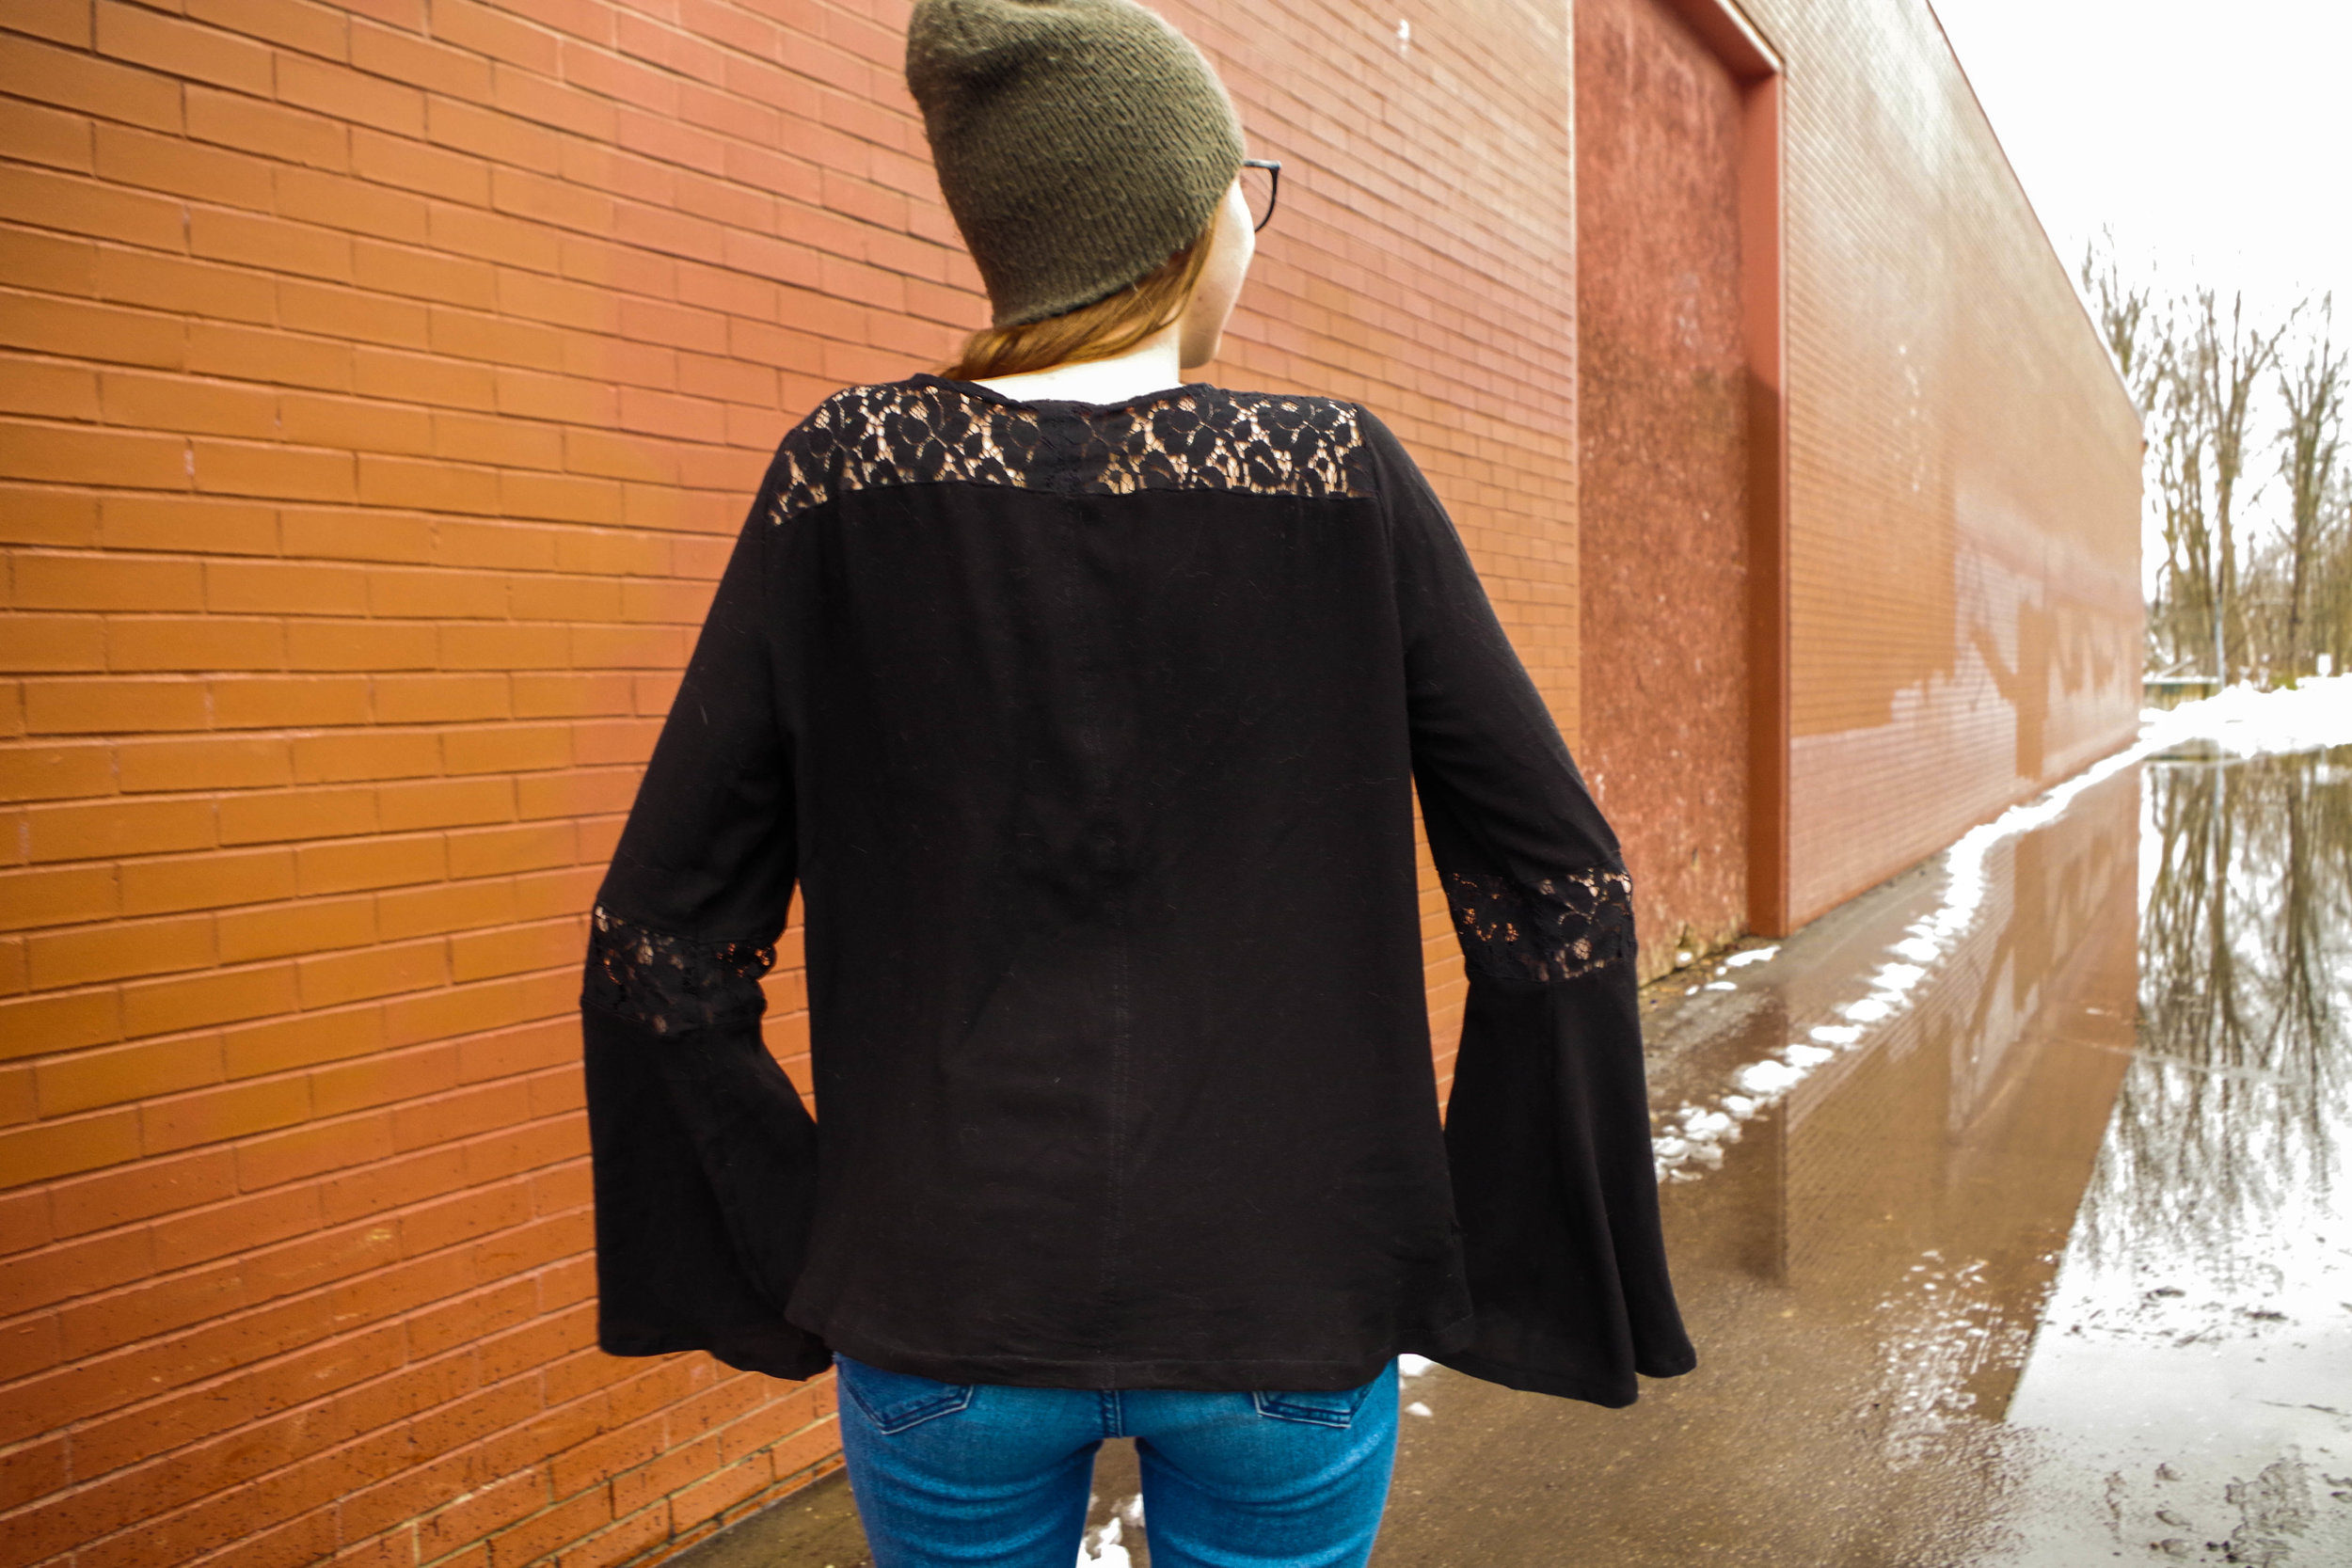

Had to bust out the toque halfway through because #BabyItsColdOutside
This hack was really easy to make. I simply lengthened the bodice and flounce, turned the darts into fullness at the hem, and cut in a yoke 3" from the center front.
(If this sounds like gibberish to you, no worries, I've got a full illustrated tutorial at the bottom of the post that's easy to pin and save for later!)
In terms of the fabric I used a rayon crepe and a poly lace from Style Maker Fabrics.
They are SO SOFT.
The crepe feels almost cushion-y, and the lace has absolutely zero scratchiness. A few of the guests on the Maker Style Podcast have told me about the impeccable quality of Michelle's fabrics, and now that I've tried them for myself I can tell you with absolute certainty that they were not exaggerating. Plus Michelle is just as wonderful and helpful as everyone says she is. Since both the crepe and lace had a little bit of give I was able to get away with just sewing up with back without closures.
The only thing that makes me regret picking the black crepe is that it really clings to cat hair - as all black clothes do.
Maybe this means I need to cuddle my cats less?
Or maybe I'll have to start keeping a lint roller in my purse, just in case.
I'm so happy with how this make turned out! Everything from the pattern, to the fabric, to the hack was perfect.
Want to make one yourself?

Step 1: Retrace your pattern pieces (I like to use parchment paper) lengthening the bodice front, bodice back and sleeve flounce. I decided to lengthen the bodice by 6" and the sleeve by 5.5", but I'm on the taller side, adjust accordingly. Don't worry about marking any of the waist darts, we're going to pretend they don't exist.
Step 2: Since I wanted to cut my bodice front out on the fold in one piece, I removed 1/2" from the front as seam allowance. This step is totally optional.
Step 3: Starting with the bodice front, I cut from the hemline up towards the dart, stopping just a hair shy from the tip - leaving a hinge here will allow us to move dart.
Step 4: Bring both edges of the dart together to close it, creating more fullness at the hem. "True" or even out where the two legs of the dart meet so that the side seam is smooth.
Step 5: Now you have a pattern piece without a dart and extra fullness at the bottom. Retrace the pattern.
Step 6: Moving onto the bodice back, we're going to be repeating steps 3-5. As illustrated in this step, cut from the hem all the way to the tip of the dart, leaving a small hinge.
Step 7: Bring both edges of the shoulder darts together, making fullness around the hem. Even out the shoulder seam to make one smooth line.
Step 8: Retrace this pattern piece.
Now you've finished converting the bodice pattern to a swing-style top. Now let's tackle making the yoke and sleeve details.
Step 9: Measure three inches down from your center front and center back. Cut straight across this line to the armscye (aka, arm hole). These are your new yoke pieces.
Step 10: Add 1/2" seam allowance on both the yokes and bodice front and backs.
Step 11: To make the lace sleeve detail, start by removing 2" from the bottom of your sleeve pattern piece.
Step 12: Add 1/2" seam allowance to both the sleeve piece and the 2" wide piece you just cut out. Now you have a shortened sleeve and an insert piece.
Now just sew up your shirt as usual - congratulations, you hacked it!
Want to join the tour?!
I've been totally blown away by all the gorgeous-ness that has come out of this blog tour so far - everyone has been killing it! Here's where you can check out the other makes.
GOODIES
If all this holiday sewing inspiration has you in the mood to start sewing, I've got a few deals you won't want to miss!
1) Take 16% off all Itch-To-Stitch patterns with the code "holiday16". Discount runs Dec. 3rd - Dec. 11th at midnight CST.
2) $5 Flat rate shipping on all fabric from Style Maker Fabrics shipping within the USA - no codes needed! There is also a sweet discount for all of my fellow international sewists , don't worry :)
Have you started on your holiday sewing yet? I'm STILL lagging on getting my gifts started (I know, bad Rachel). Let me know down below what you're making, I would love to see!