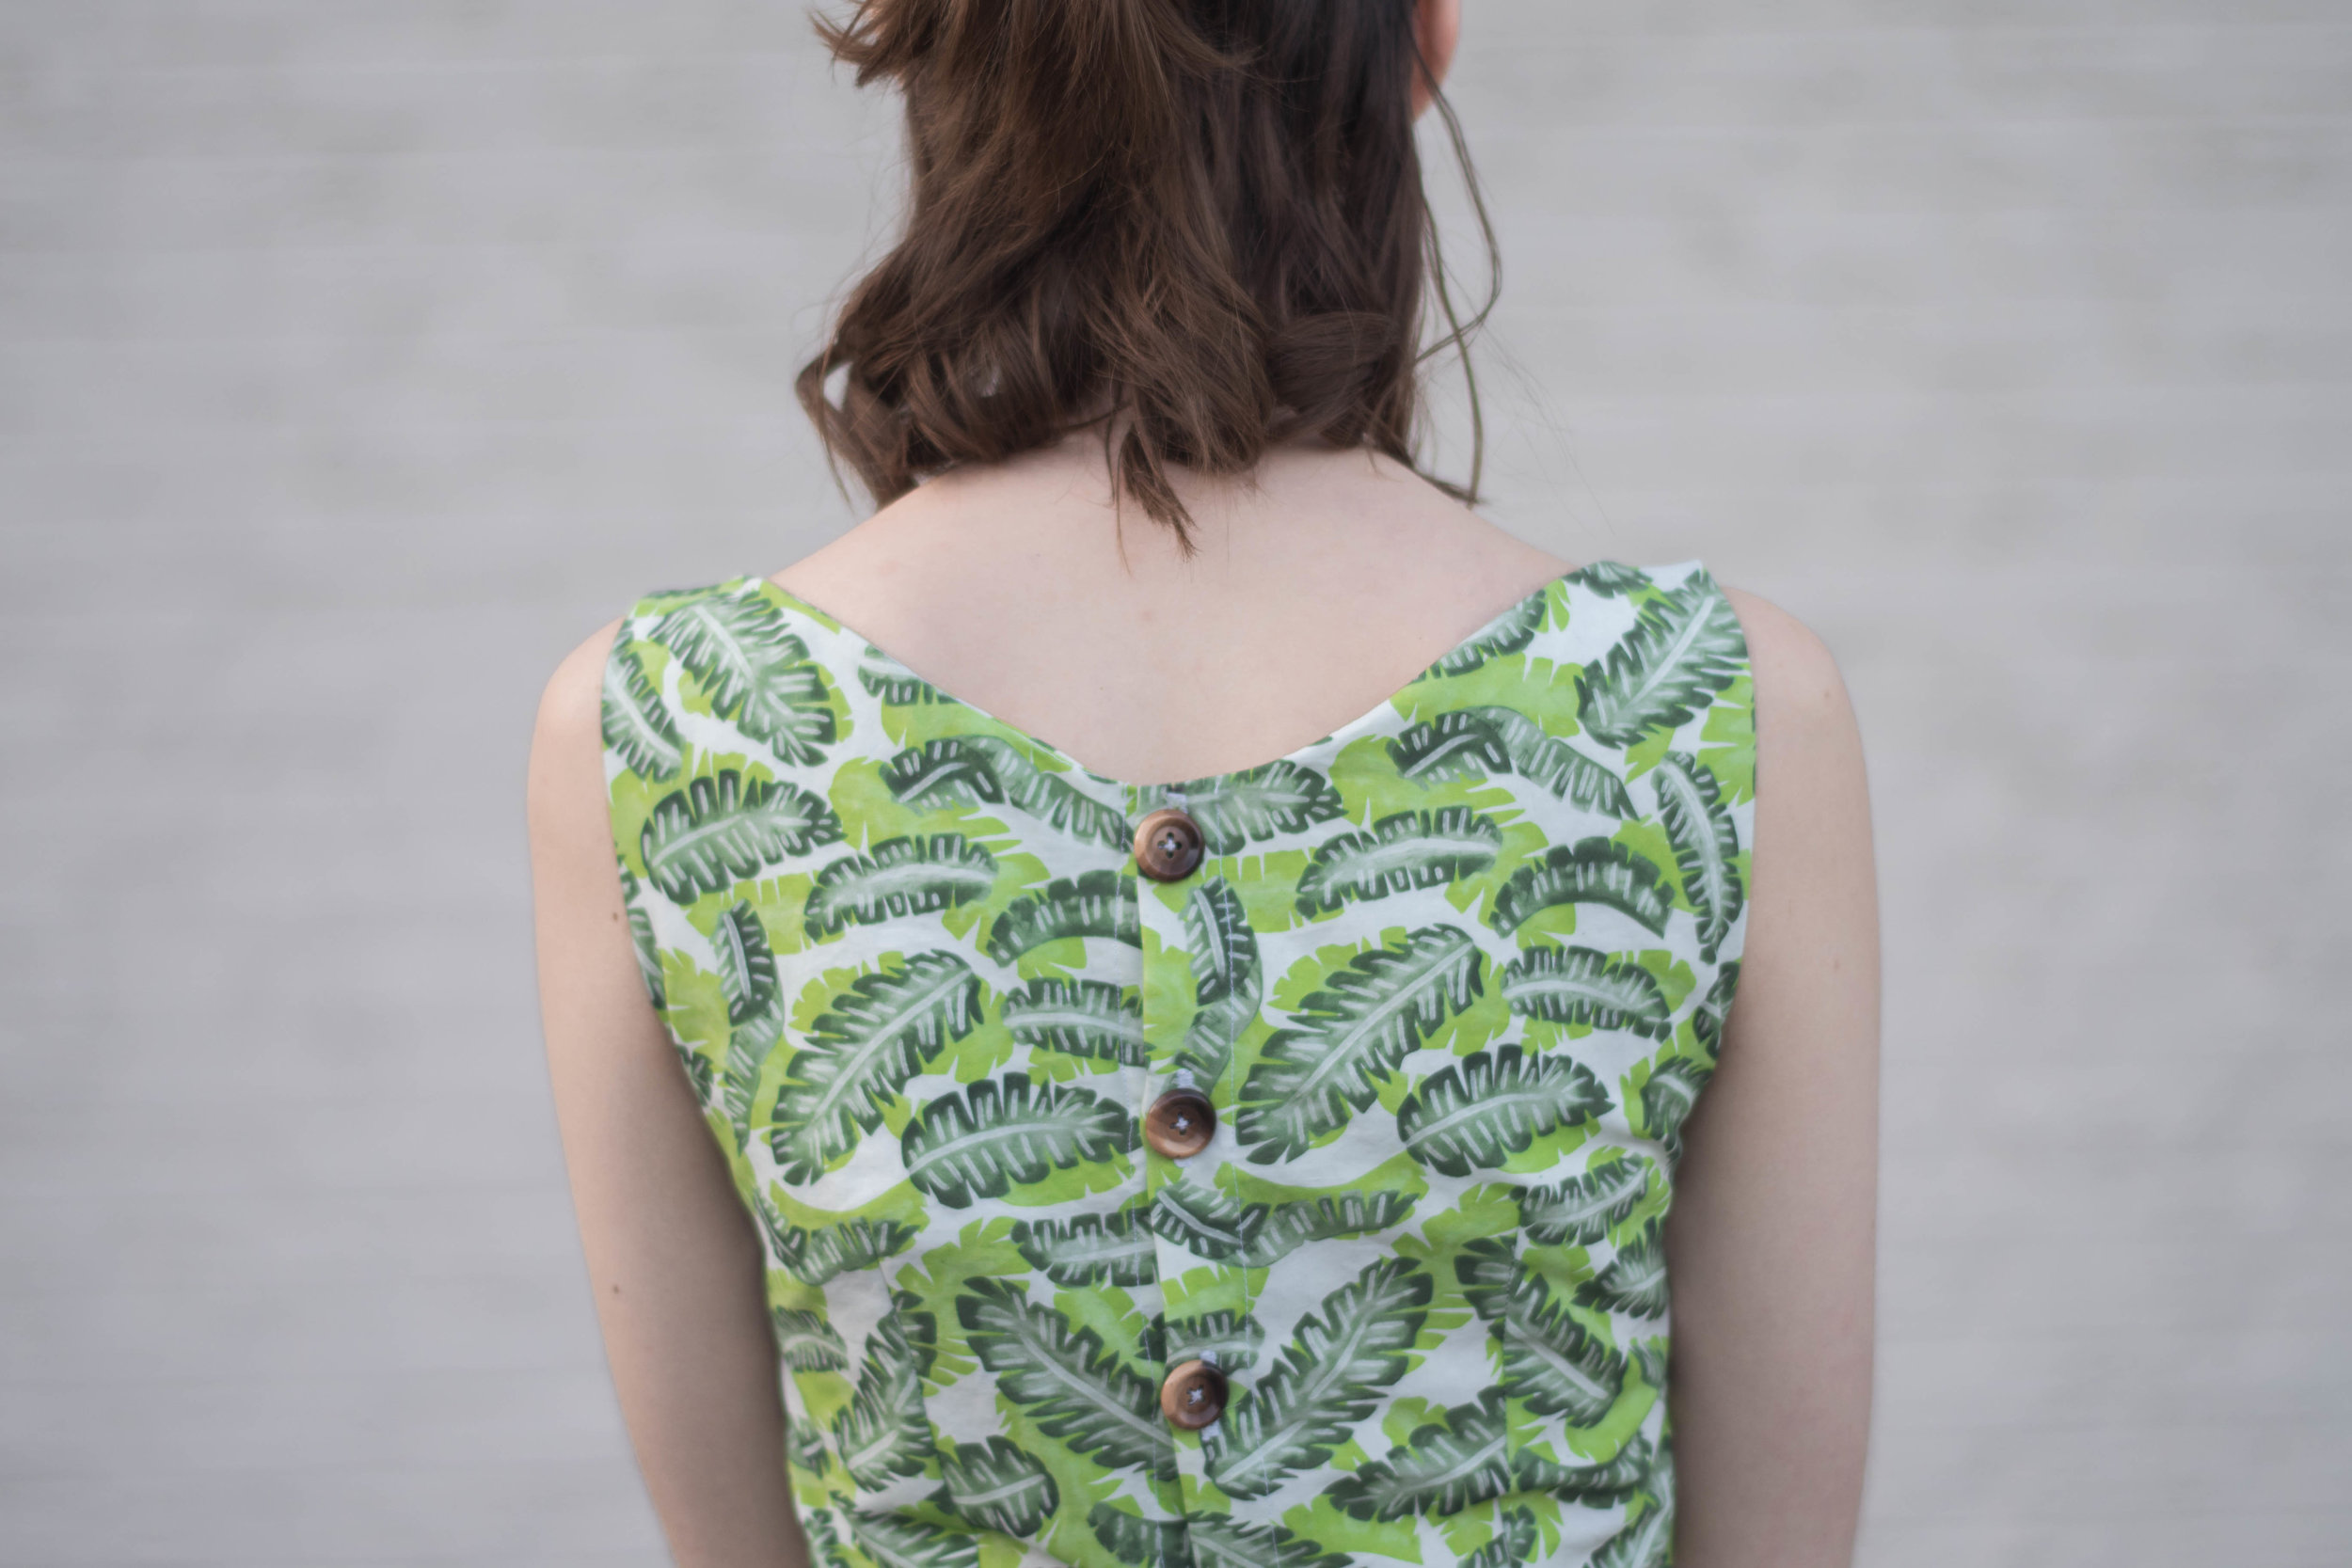
How to add a V-Neck Back to a Woven Dress

Encorperating a V-Neck back into your next sewing project is an easy way to add an unexpected design detail.
The best part is that this is incredibly easy to do, especially if you're adding it to a dress that already has a back closure (zippers, buttons, etc.)
This tutorial will teach you how to modify a standard scoop-back neckline into a v-neck in just 6 steps - seriously, easy peasy!
For this dress, I used the FREE Orla Dress Pattern by French Navy. However, any fitted bodice pattern you love will work for this tutorial.
Let's get started!
How to Hack a V-Neck Back on a Woven Dress

Step 1:
Remove your seam allowances from the neckline, shoulder, and center back seams. On the Orla Dress, this is 1cm.
STEP 2:
Trace your pattern piece (now without seam allowances around the neck, shoulders or center back) on a new piece of paper. Swedish tracing paper, parchment paper, or brown craft paper will do the trick. Make sure there is plenty of space remaining on the paper to create your new pattern piece.
Step 3:
Determine how low you would like your v-neck back to be. Since back neck lines are usually higher than the front, I would recommend dropping your neckline by an inch or two for maximum effect.
Mark this new line on the center back line and connect it with the inside of the shoulder seam in a straight line.
Step 4:
Hold the new pattern piece up to your body. This is a good time to check if the back is low enough or too low for your liking. You may need a friend to help you decide since it might be a little hard to see.
Step 5:
If you're working on a center back piece with a seam down the center, add your seam allowance. Remember to draw this portion straight out from the center back seam.
Some people prefer to make the seam allowance on their v-necks follow a v-shape, but I find this hard to freehand accurately. This will yield a more accurate result, but you can get away with just doing a straight line out.
Step 6:
Marvel at your awesome new pattern piece!


Want to find the other tutorials involve with hacking this dress?