Custom Cactus Print Watson Bra with Cricut
This is a sponsored conversation written by me on behalf of Cricut. The opinions and text are all mine. Comments submitted may be displayed on other websites owned by the sponsoring brand. This post contains affiliate links, which means if you purchase something from Cricut I may earn a small commission. The money I earn from affiliate links and sponsorships helps me to improve the blog. Thank you for supporting Maker Style!

Has anyone else been obsessed with Cacti lately? I love how fun and playful they are.
I wanted to sew up something cute in a cactus print for summer, but couldn't find the right printed fabric for the look I was after. I wanted something that looked hand-drawn, but not too childish. Turns out, this wasn't easy to find.
I had pretty much settled on waiting to try to find this magical fabric next summer until I got the idea to make my own printed fabric using some iron-on from Cricut. I had some iron-on that perfectly matched some of the fold-over-elastic I had in my stash so I thought it would be cool to make a cactus print bra.
Because, let's face it, who doesn't want a cactus print bra in their stash?


The end result is a playful and COMFORTABLE bra I love to wear around the house. It seriously makes me smile every time I put it on (because... cacti!)
This also was a great test run for me because I've been promising to make my sister a horse-printed bra. Now that I saw how easy it was to make this one, I'll be making her at least 50!
In this post I'm going to cover how I customized this fabric and some construction details on the bra itself - let's jump in!
Customizing your Fabric
All you'll need to customize your own fabric is:
- Some plain jersey fabric - I went with a grey colour to keep this bra looking casual.
- Some Iron-On - I chose a metallic purple from Cricut's jewel tone sampler pack. Out of all their iron-on types, metallic is definitely my favourite. It's SO fun and SO unexpected. Any type of Iron-On will work, but bare in mind if you pick a glittery it will have a little bit of texture that might stick to your shirt. I personally would stick with another kind!
- A light grip mat
- An iron
- A Cricut - I used my Cricut Maker.
Optional:
- An Easy Press - while you can use your iron-on for iron-on projects, I get the BEST results when I use my easy press. It's got the power of a heatpress in the table top convenience of an iron.


Getting Started
I started out by designing my cacti in illustrator using an 11.5"x11.5" art board. I drew four different types, then turned them into a repeat each about 1" apart. I took this pattern and covered my entire art board, giving me the perfect, hand-drawn cactus print I had always wanted! Then, I saved this file as an SVG and uploaded it into the Cricut Design Space.
You can make your own repeat using free shapes in the Design Space for a similar effect!
Once you've got the design you want to print on your fabric
- Click "Make It" Select "Mirror Image"
- Choose "Iron-On" as your material
- Load the mat into your Cricut
- Press go!
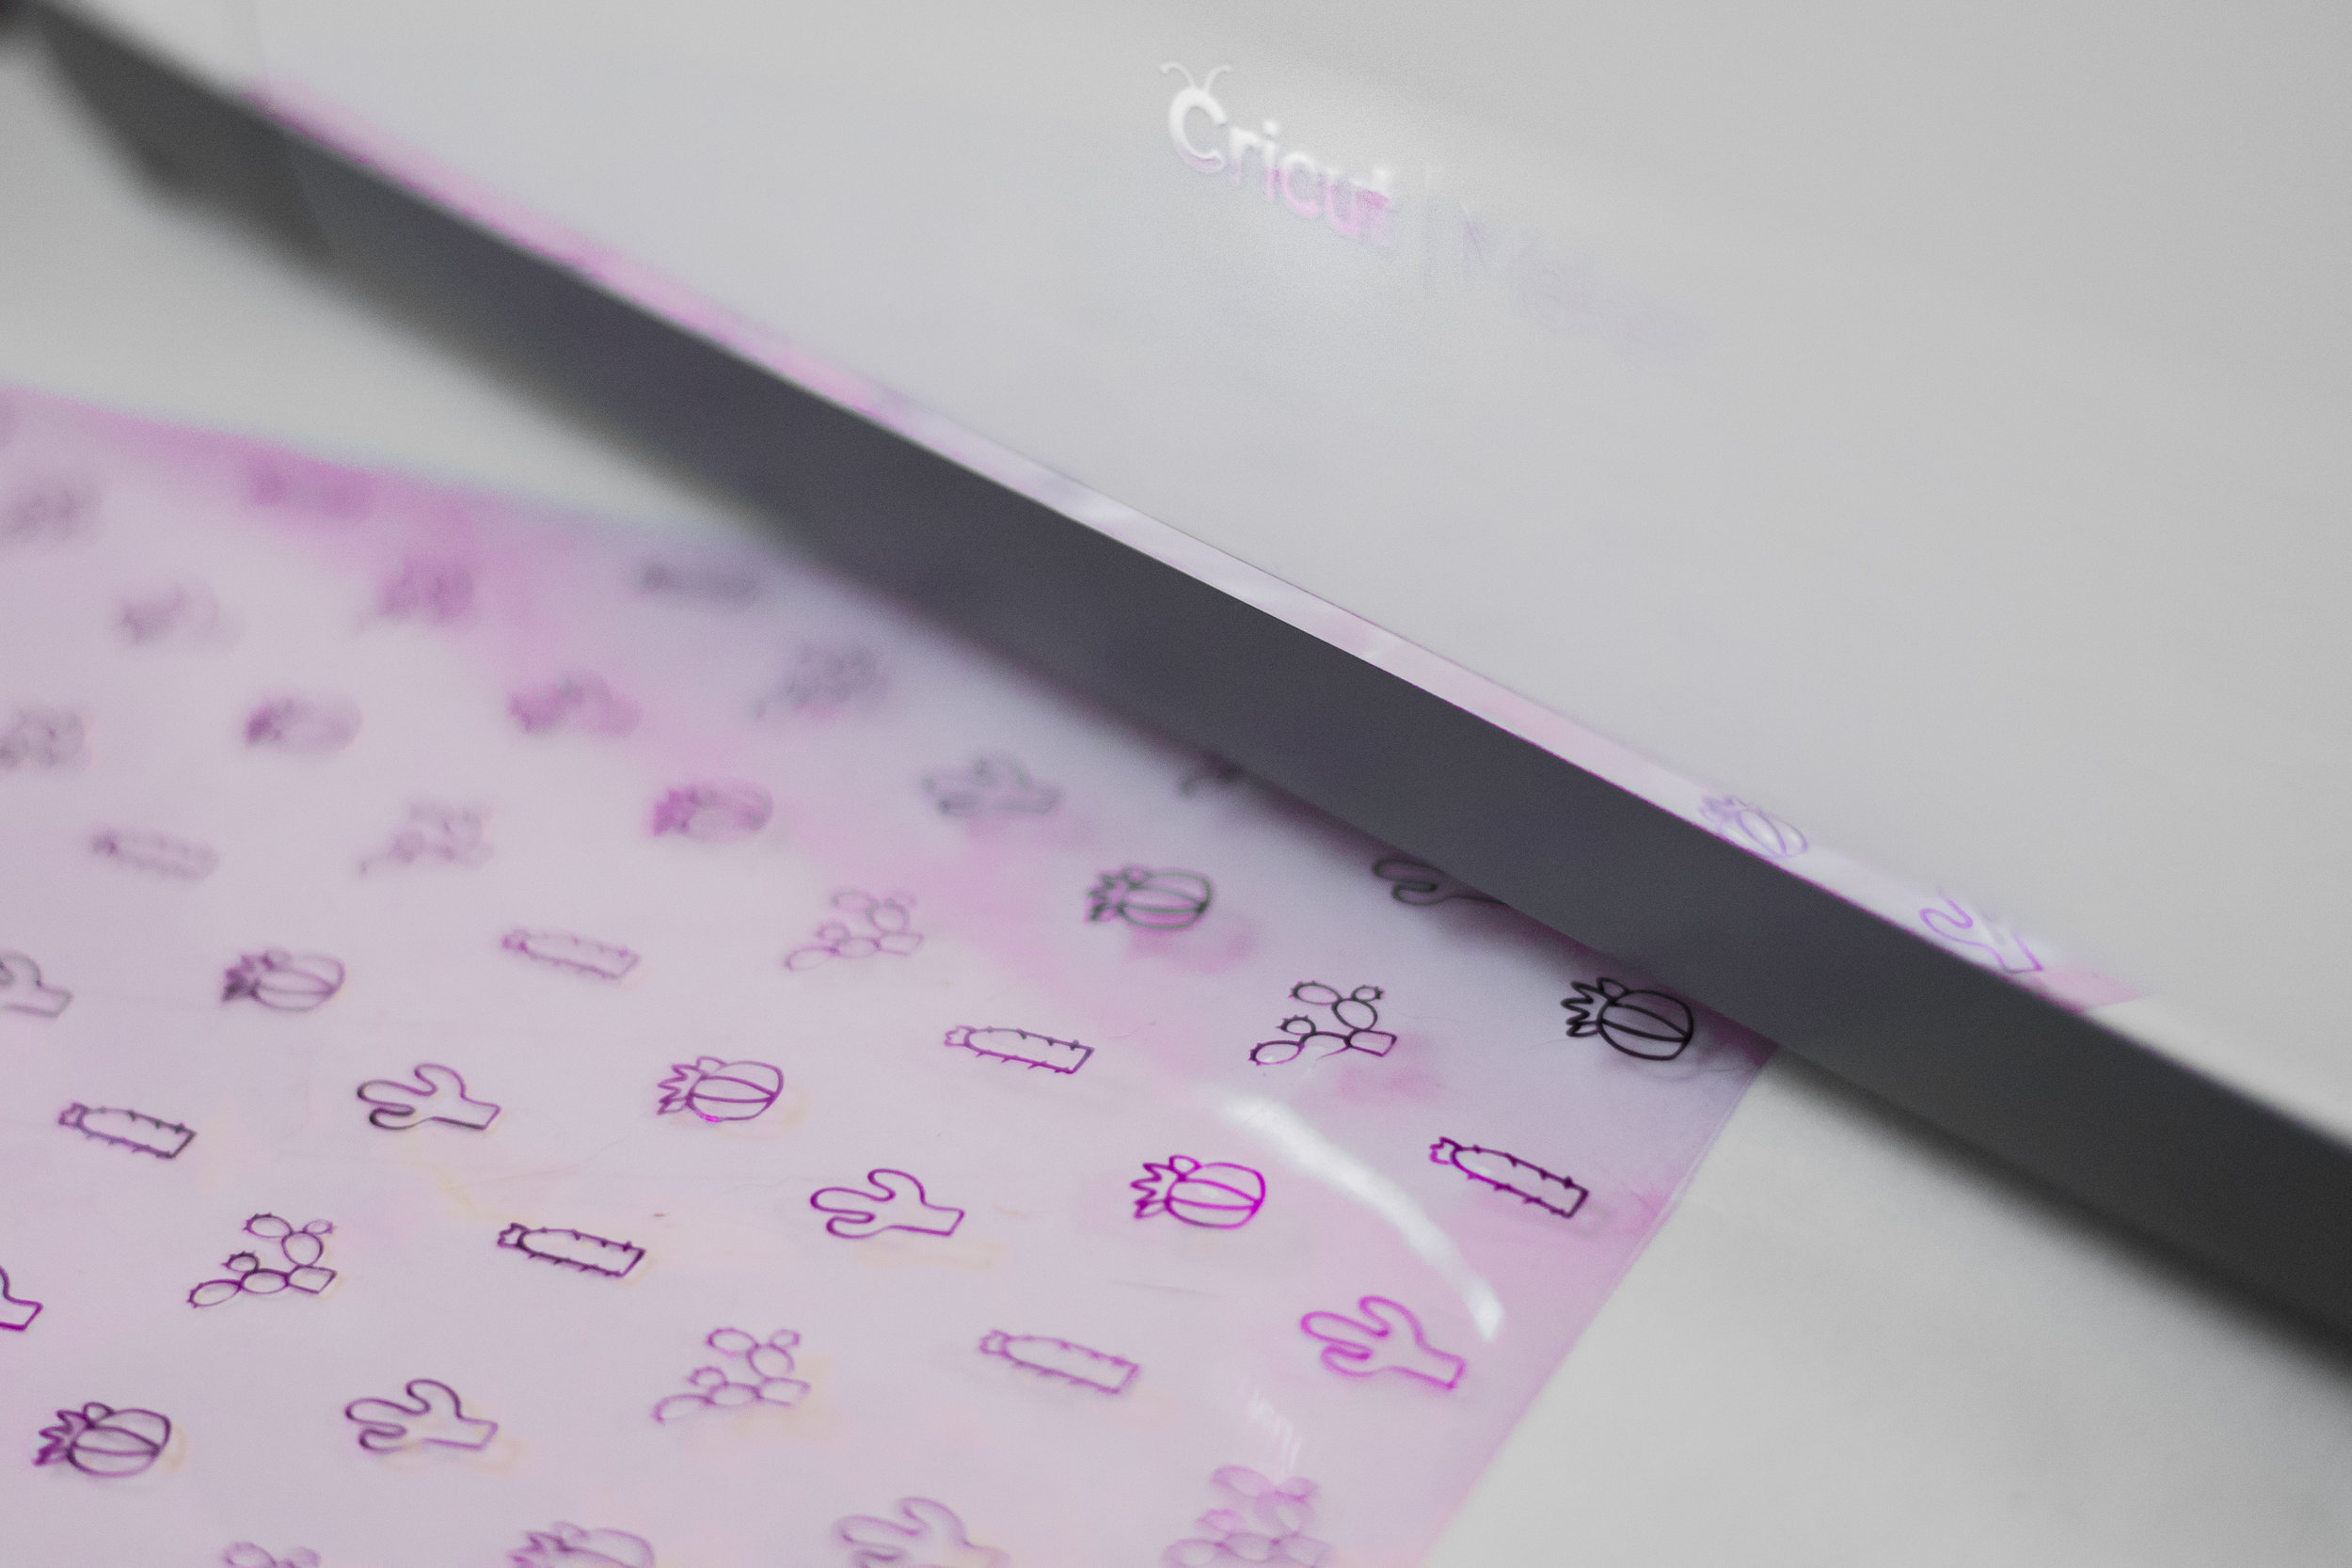

Once your design is cut out, you're going to have to weed out the extra iron-on from your design. Since my designs were hollow, this took me a little bit of time since I had to manually remove the insides of every design. If you chose a solid image for your repeat, like the horses I mentioned above, you'll likely be able to pull the extra off as one sheet in seconds! Now that your design is weeded, it's time to iron on your new design onto the fabric!


With your pattern pieces cut out, trim your iron-on sheet to fit your cup pieces. The pattern I used for this project, the Watson Bra, is very tall and curvy so I could only fully cover the cups with one sheet of iron on. A more narrow bra pattern, like the Jasmine Bra, should easily allow for you to cover the whole pattern. On the rest of the bra where I couldn't fully cover the pattern pieces with iron-on, I used the excess to add some fun cactus accents to the bottom of the band. I also saved one little cactus as a cute detail for the matching undies!

Once you've got pieces cut out, it's time to iron them on. I used my Cricut Easy Press to do the job because I find it a whole lot easier than using an iron. Not only do you get more accurate and even heat, it's large surface makes it easy to iron multiple pieces at once. Plus it's auto-shutoff features means you won't accidentally leave the iron on and nearly burn your place down.
I like to use it on top of a towel to keep my table protected. I don't have an ironing board in my apartment, so this is actually the set-up I use all the time!
Wait until your pieces have cooled a little and you'll be able to remove the plastic covering - revealing your adorable new printed fabric! Once all your pieces have been finished all that's left to do is get sewing.
The Bra Pattern


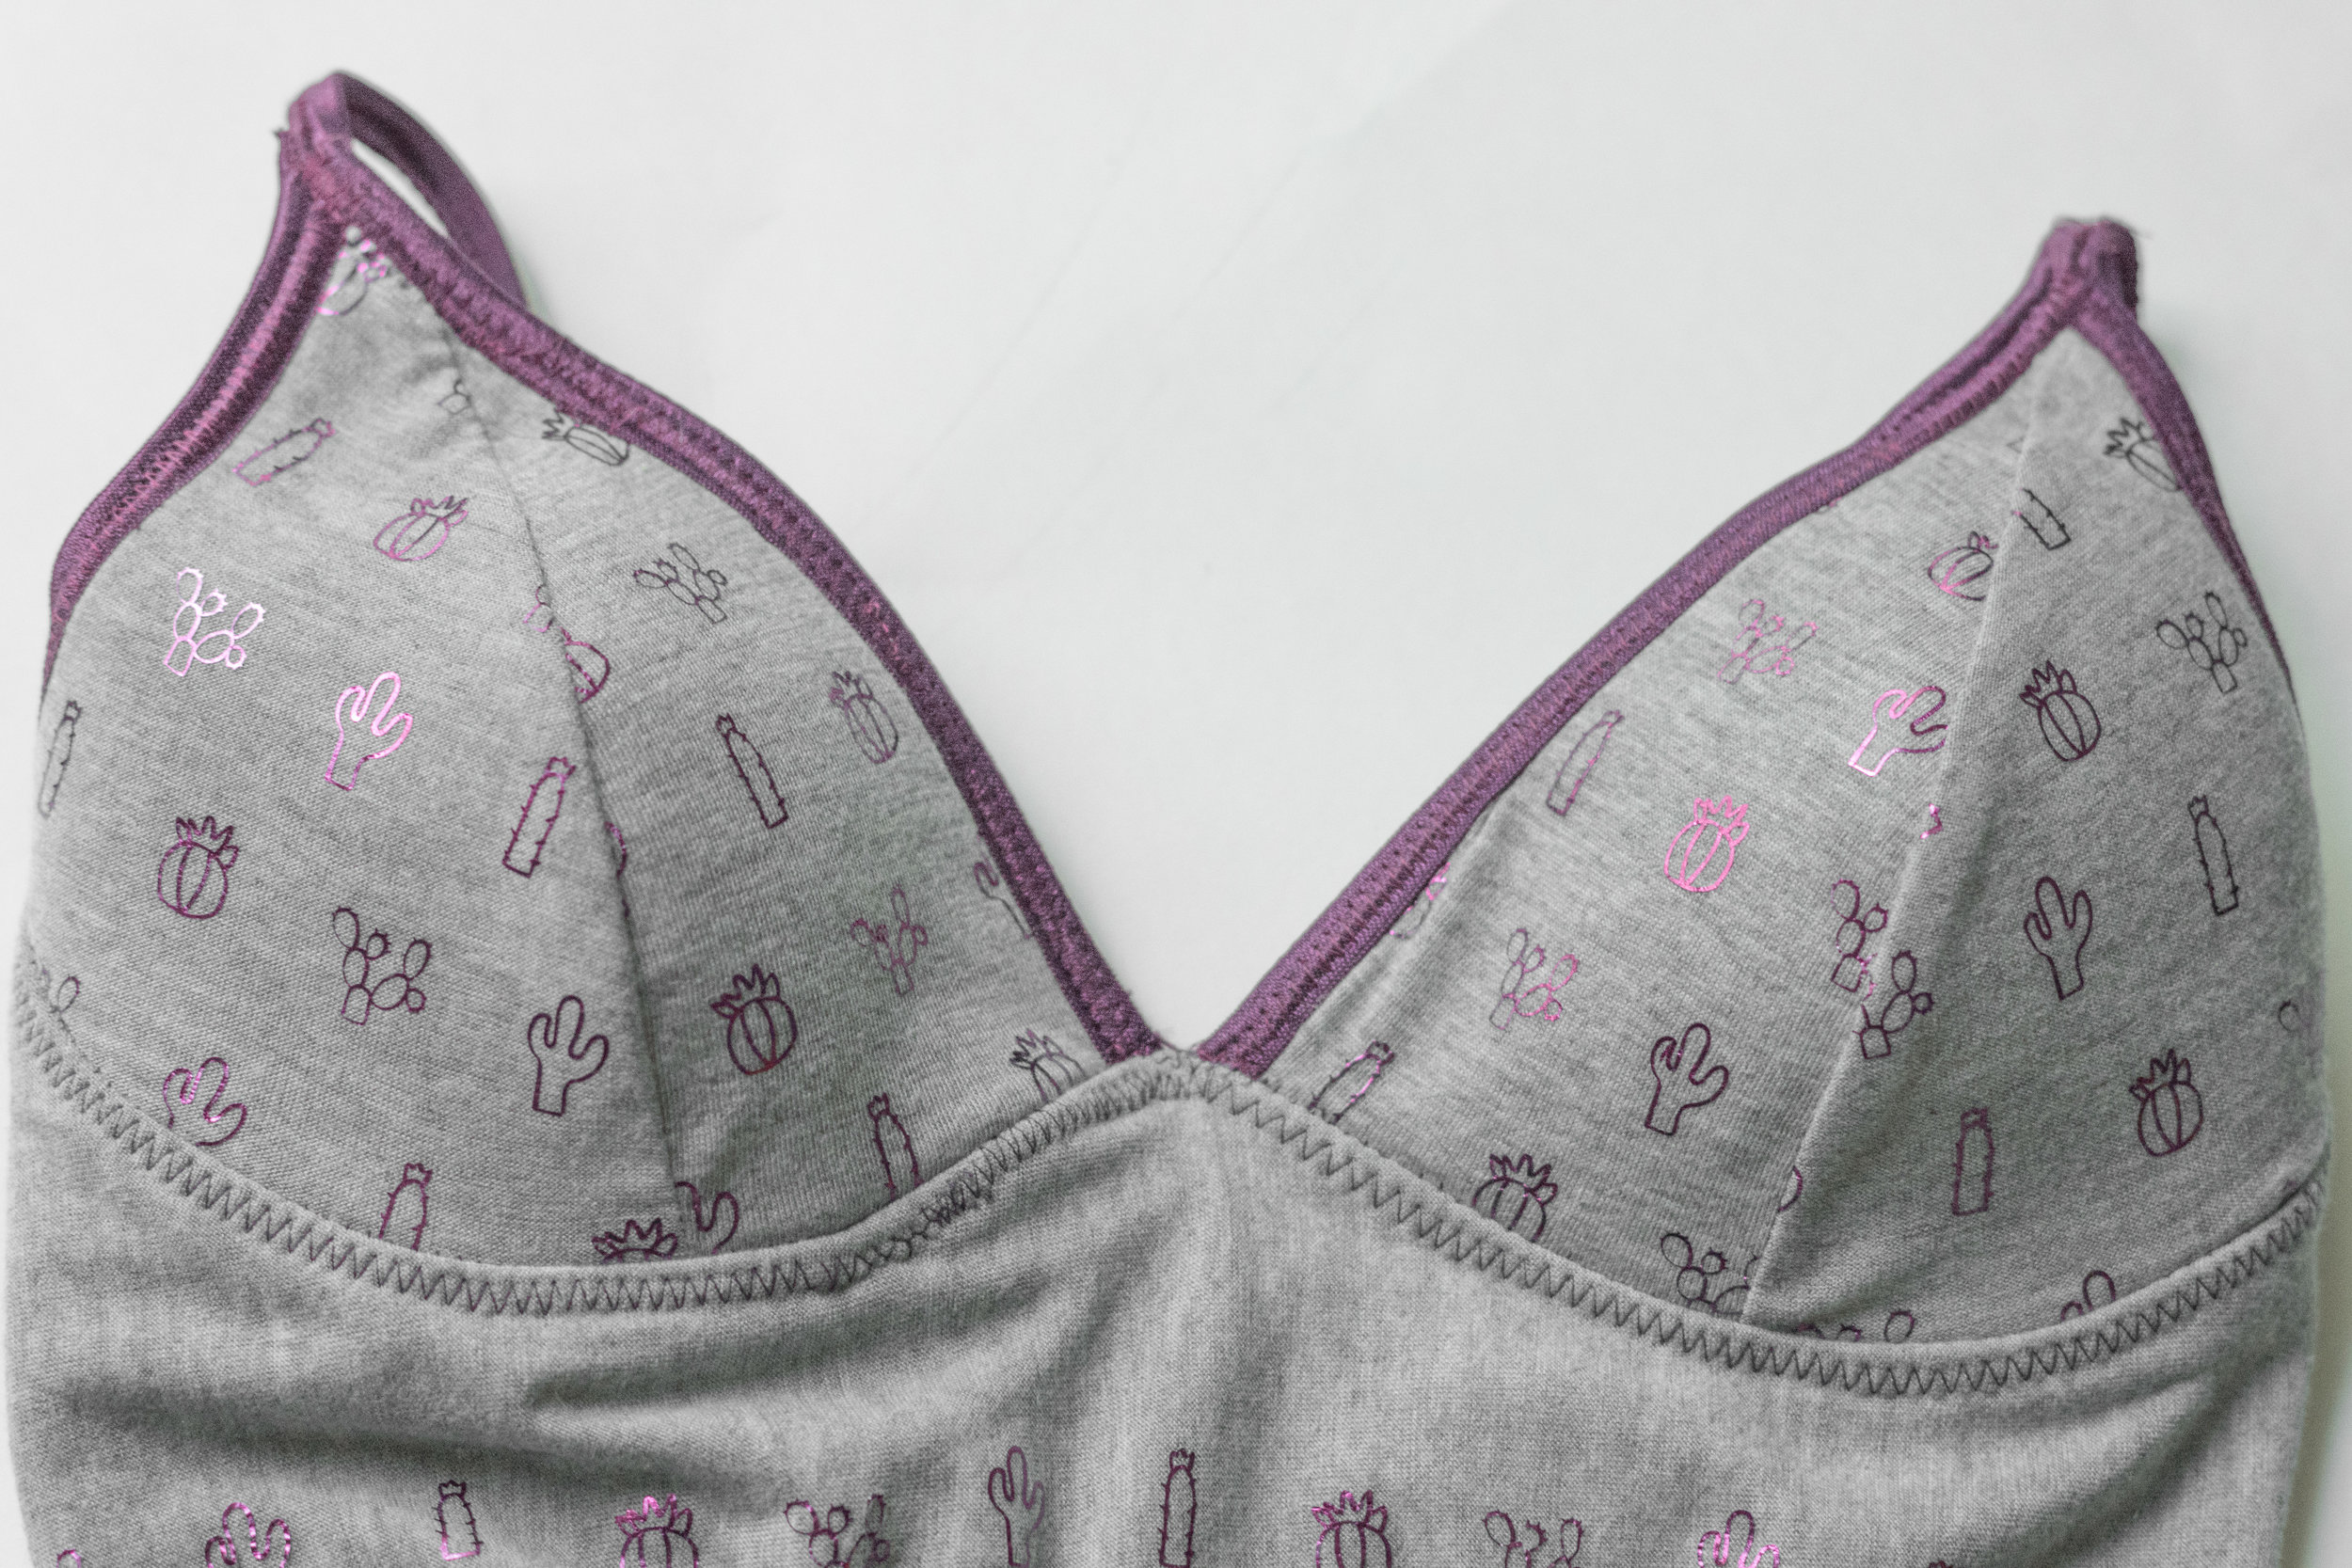
For this bra I decided to use the Watson pattern by Cloth Habit. It's a pattern I've been playing around with (and loving) recently. My first two versions were made with lace lined with 15 denier for a sheer look, but this version was made with jersey and foam cups. The Watson bra recommend against using foam, but I find that I still get an excellent, comfortable fit when I use it.
It's like adding a little built in cushion to your bra!
I lined the bridge with firm power net to stabilize this area (the bridge of a bra generally isn't supposed to stretch). I got this in bulk from Len's Mill and it's not very soft (but was $3/M!) so I lined it with another layer of jersey to go against my skin. I also lined the wings with stretch mesh to help them keep their shape.
I sewed up the longline version of this bra in size 32C and added a few CM of wiggle room to the wings - I find that if I stabilize them, I need to add length to account for the reduced amount of stretch. I used fold over elastic (FOE) on every edge of the bra. I know for so many of you that's a big no-no, but my little boobs don't require special band elastic to behave the way I want them to.
This bra is one of those projects that just makes me really happy. I love the print, the fit, and the comfort factor. It's not necessarily a "sexy bra", but it's fun - and everyone needs a few silly bras like that!
I'd love to know, whats your dream pattern you're having a tough time finding in stores? Surely I can't be the only person with an obsession with a print that doesn't actually exist!
This is a sponsored conversation written by me on behalf of Cricut. The opinions and text are all mine.