Faux-Embroidered Beach Cover Up made with Cricut
I was invited to participate in the Cricut Sewing Blogger Program Kickoff. This experience is based strictly on my opinion. Others may have a different opinion or experience with the product listed above. I was provided the sample free of charge by the company or PR agency and I have given my honest opinion. This is a sponsored conversation written by me on behalf of Cricut. The opinions and text are all mine. Comments submitted may be displayed on other websites owned by the sponsoring brand.
This post contains affiliate links, which means if you purchase something from Cricut I may earn a small commission. The money I earn from affiliate links and sponsorships helps me to improve and continue producing the podcast. Thank you for supporting Maker Style!


I love embroidery. I've been seeing beautiful embroidered styles everywhere on Pinterest and it's definitely my favourite trend this summer.
What I don't love above embroidery is that it takes forever. Some people find the slow process of stitching a garment together meditative, I find it frustrating. So, I always have the best intentions to add a bunch of embroidery to my makes but never follow through on it.
Then I see more cute embroidery on Pinterest and the cycle continues.


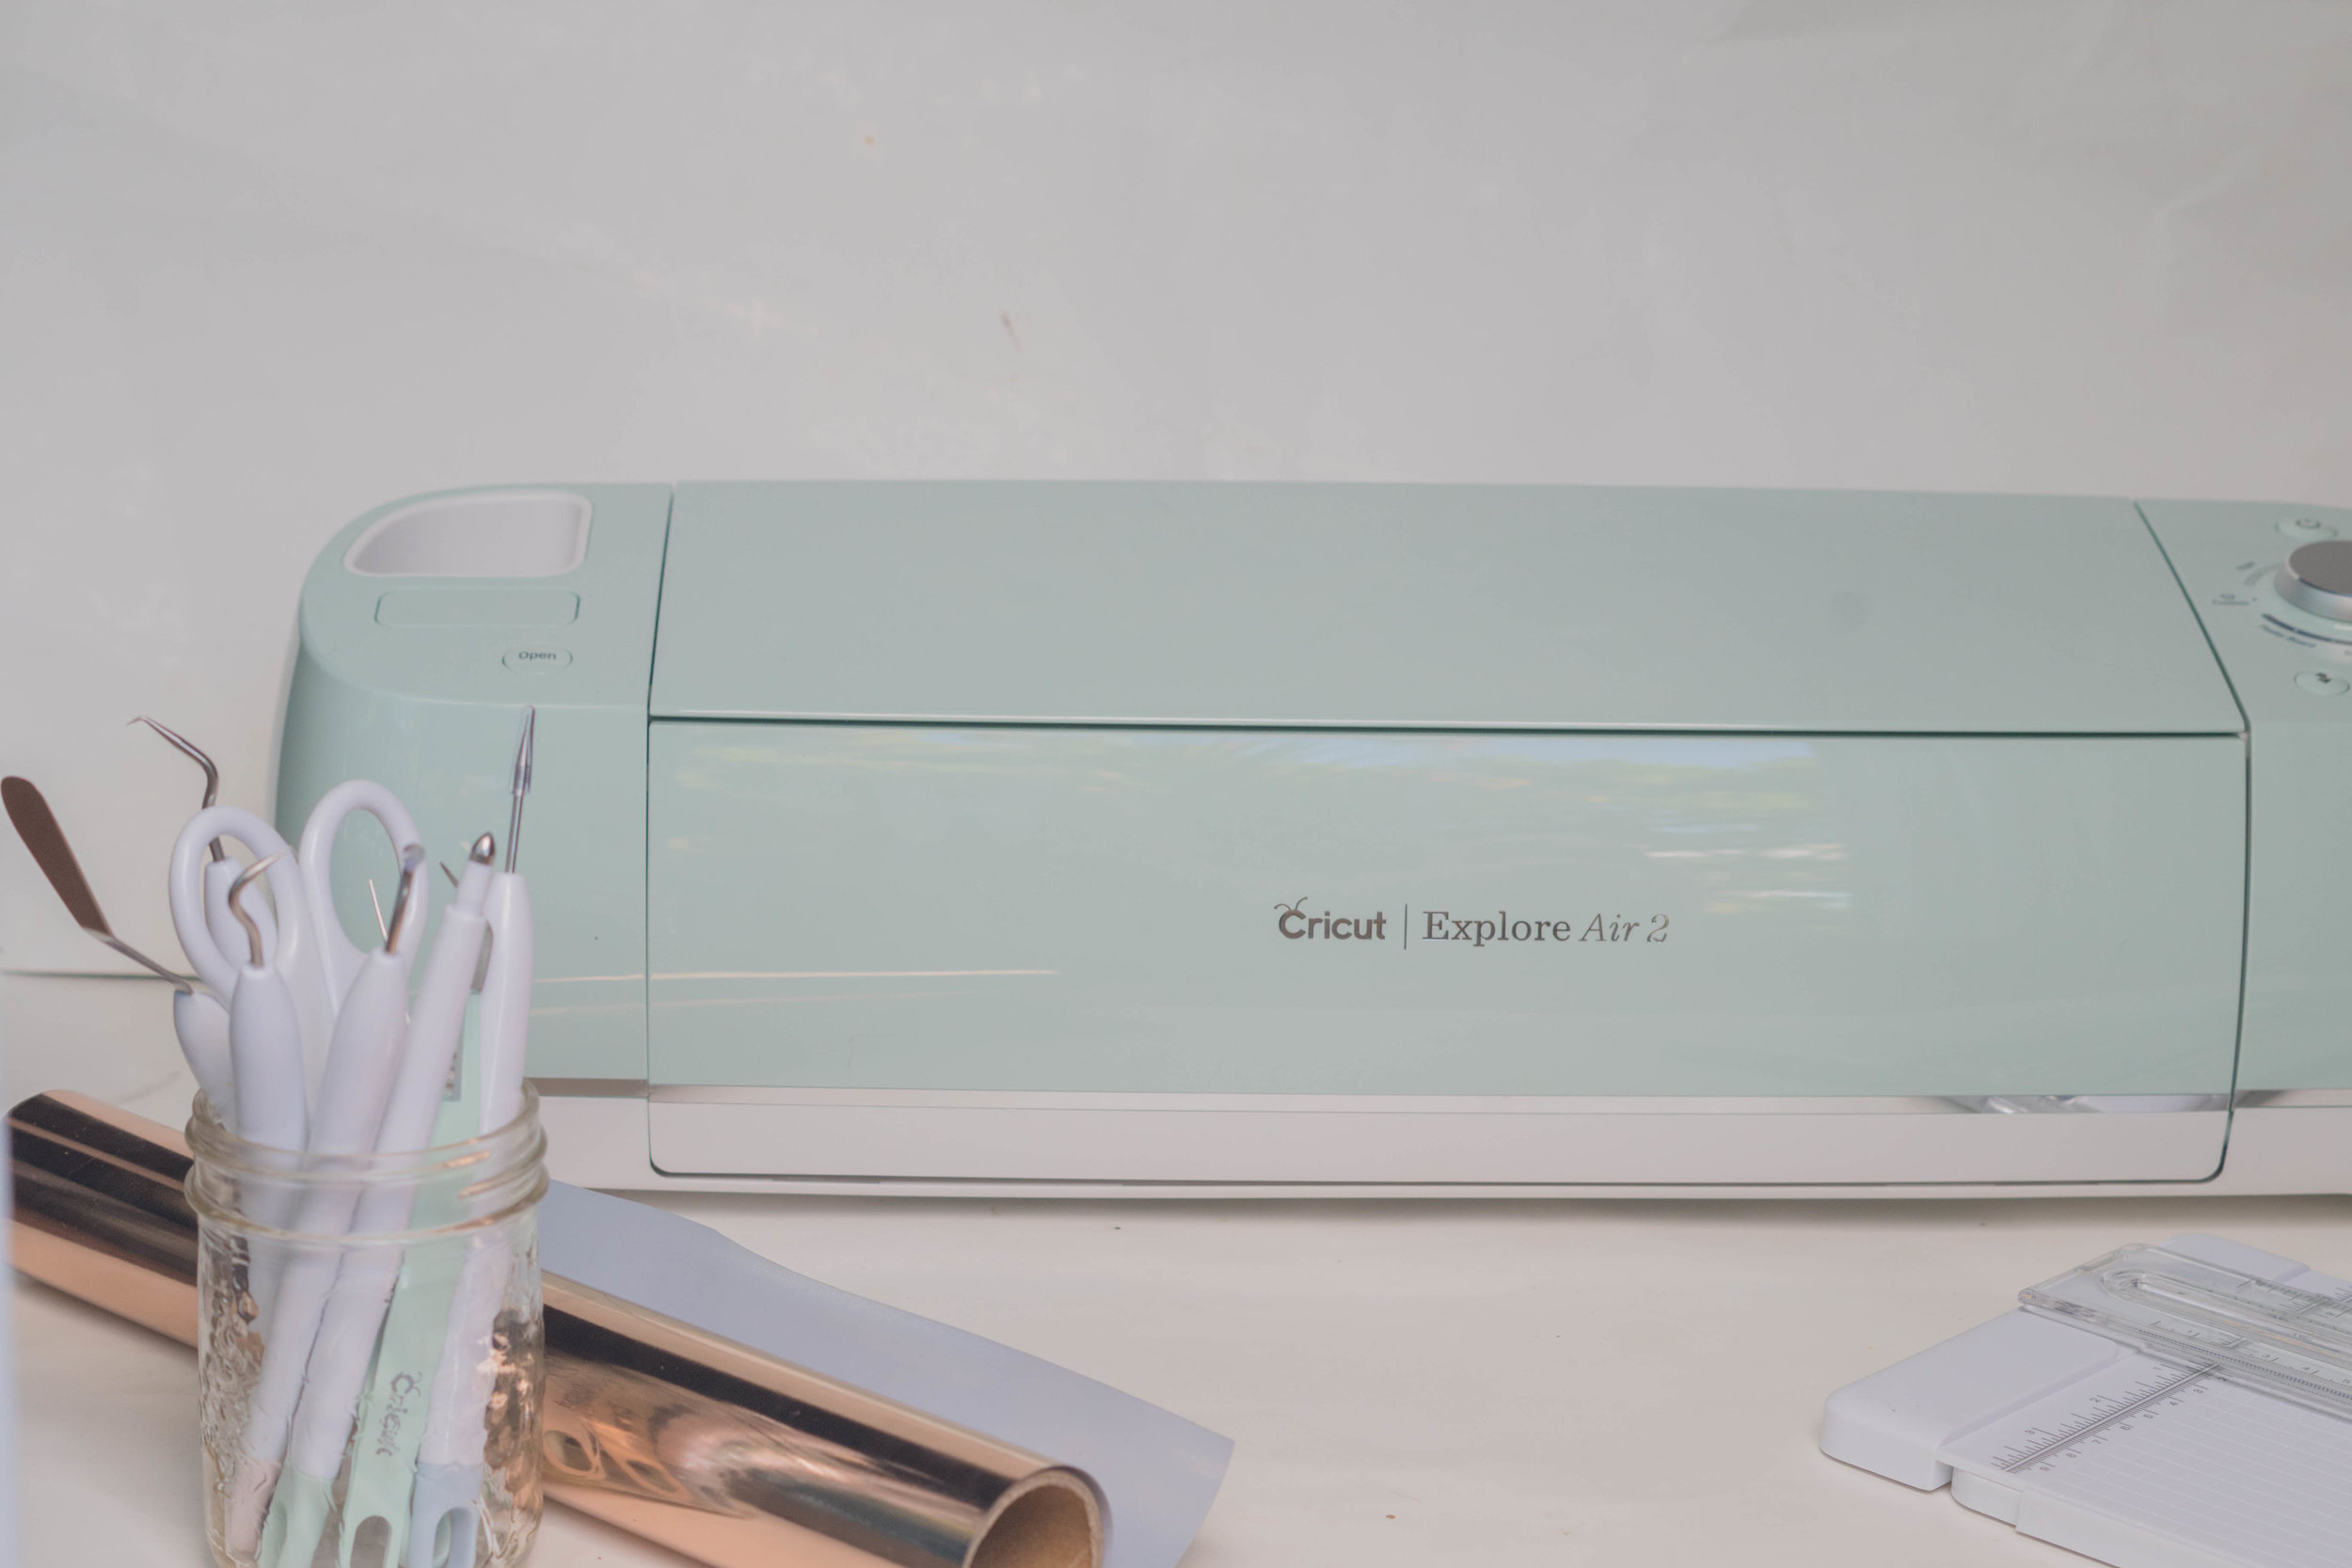
Today, in attempts of breaking the cycle, I'm teaming up with Cricut to talk about some of the ways that you can add an embroidered-look to your sewing projects using their Explore Air 2 Machine and iron-on.
Before playing around with the machine for myself I didn't think you could use a Cricut for anything more in your sewing game than making cute handmade tees - which are really fun, but not necessarily my style. Now that I've had a chance to test the limits of this machine I'm getting pretty excited about all the options it gives you for customizing your fabric - faux embroidery is just the beginning, friends!
To use a Cricut machine to make some faux-embroidery, we'll need to first make/choose our design file, then cut and weed our design, iron it on, and sew the garment together. Here's a quick little gif-torial with ALL the steps you'll need to do that I shot for Instagram - Check it out!

Making/Choosing your Design File
You've got a few options for either making or choosing a design file for your faux-embroidery project:
1. Using a program like Illustrator or Gimp to draw and export an SVG of the exact embroidery pattern that you've been dreaming of for your project. This is a great option for digitizing your hand-drawn patterns. This is the route I went with for the dress pictured above.
If you're choosing to make your own, I had the most success weeding lines that were at least .5px thick. Faux french dots were difficult to remove, but not impossible, because of their needle-head size! Not to mention, the effect from the lines are very subtle. For future projects, I would size these up a little bigger. I was really concerned with keeping the lines on this dress as thin as possible so that it looked like real embroidery, but now that I've completed the project I think I could have easily gone up a size or two in thickness while still looking authentic.

2. Download free SVG files, like mine here.
Cricut handles intricate designs with ease, so you don't need to worry about picking something simple. If you're looking for something that will be easier to weed for a first project, I would select a design that uses longer pieces instead of tiny ones. After learning a lot from making my first piece of faux-embroidery, I went with slightly thicker lines for the files I've prepared for you guys!

3. Pick something from the Design Space.
Cricut's Design Space has lots of floral outlines that would make adorable embroidery projects! While you won't find a lot of options by searching "embroidery", using the term "floral" got me some great results. This one, this one, and this one would all make great choices. For the most authentic embroidery look, I would stick with designs that are outlined-only - I found the project looks more like thread this way!

Upload to the Design Space

Resize on your canvas - Looking good!

Make sure to weld your design together if it's looking out of order when you print - this will allow it to print all as one cut.
Whatever design you choose, you'll need to either import the file into the Design Space or select it from their library of files. You can drag and drop individual files to your liking, or upload one big design. Once that's complete, it's time to cut.
Cutting and Weeding your Design
Cutting is the best part, because it feels like magic watching the little blade do its thing. Be ready for excitement! Here's what we're going to do:

- Click the "Make It" button in the Design Space. Review your cut and remember to click the "mirror" design button - you'll want to select this every time you use Iron-On.
- Connect your machine to your computer using the USB cord. Set the dial to Iron-On.
- Remove the cover of your cutting mat, stick a piece of Iron-on on the mat, and follow the instructions on-screen to load the mat into your machine.
- Press the blinking "C" button on the machine and enjoy some cutting magic!
Ironing-On Your Faux-Embroidery
One mistake I made while sewing this dress I've shown throughout the post is waiting until after I had finished sewing to add the iron-on. While it wasn't impossible (or particularly difficult) to add the iron-on after, I was kicking myself knowing I could have had a cleaner application without the under-bust gathers getting in my way if I would have added the faux-embroidery first.
Here's how you should iron-on your faux-embroidery:
- Start by ironing your fabric to warm it up - this makes for a cleaner and easier application.
- Add the iron-on and position it on your fabric. One thing I love about this iron-on is that it has a clear layer on top to help keep it in place while you iron it. This makes it really easy to place it exactly where you want it and keep it there.
- Using a pressing cloth or piece of spare fabric, iron your design in place. This took me a little longer than expected with all of the little pieces involved with this design, so be patient and make sure to iron every bit of your design.
- Let the design cool.
- Carefully test your design by lifting the corner of your design up - if your iron-on has transferred to your fabric with no signs of peeling, you've succeeded! If it hasn't all transferred, iron those places again.
At this point in the project you're probably pretty excited to see the faux embroidery coming together - now all that's left to do is sew!


Sewing the project
For this beach-cover up I decided to modify one of my favourite patterns, the Made by Rae Beatrix Blouse, into a dress. I sewed up the XS with the C/B cup and picked the view with the shirt-tail hem. I omitted the buttons and cut the back on the fold. The outer fabric is a white rayon lawn underlined with a nude rayon challis. I loved the idea of contrasting the white fabric with bright blue faux-embroidery.
The idea to make this into a dress came to me after I had already cut the pattern out, so I cut the pattern in half under the bust and added a 6" long rectangular tube in the middle of the original top and bottom pieces. While you' have much better results lengthening the pattern before cutting, this works in a pinch. To add some under-bust shaping, I gathered some bra strap elastic along this cut seam.
In order to avoid having the seam line on this dress cut me off at the widest part of my hips (not the most flattering look) I had to make this dress a little shorter than I would usually prefer. I wouldn't consider it indecent, just not comfortable for my clumsy self. That, coupled with the fact that this rayon wrinkles like crazy, makes this a perfect cover up for the beach or as a comfy dress for around the house (you won't believe me when I say I ironed the dress right before taking the pictures, and these wrinkles are a result of a five minute car ride to the photo destination... but it's true!)
Want to try Faux-Embroidery with a Cricut of your Own?
Good news! We're giving away a FREE Cricut Explore Air 2 to help one of you lovely readers start customizing your fabric. View official rules and apply here.
If you're not feeling as lucky, we've also got a coupon code running to offer FREE shipping to all US orders using the code ChristmasInJuly.

I was invited to participate in the Cricut Party Blogger Program Kickoff.
This experience is based strictly on my opinion. Others may have a different opinion or experience with the product listed above. I was provided the sample free of charge by the company or PR agency and I have given my honest opinion.
This is a sponsored conversation written by me on behalf of Cricut. The opinions and text are all mine.