Designing a Bra You Love + Sewing Bras: Designer Techniques Review
Hey Friends!
This post is a stop on the Canada Cups - Cross Your Heart Relay, which if you haven't heard, is a fabulous lingering-making blog tour celebrating the best Canadian makers EVER. This has all been made in partnership with Craftsy and a bunch of other fabulous Canadian makers who have donated prizes and other goodies for you guys to enjoy.
It's been a pretty great week, let me tell you.
(If you haven't heard about Canada Cups, I'll have a whole bunch of information about how you can hop on the lingerie-making inspiration train at the bottom of the post - hang tight!)
If you're stopping here for the first time, let me introduce myself. I'm Rachel. I'm a 21-year-old Public Relations student and sewing addict, and I spend way too much of my day on Instagram. Today I'm here to talk to you a little bit about bra making, and taking the steps to start CUSTOMIZING your basic bra patterns into something shiny and special. But before we get there, let's back up a little.
When I signed up for this tour this summer, the closest thing I had ever sewn to a bra was a cute little Bambi Bralette from Ohhh Lulu (another Canadian bra babe, btw). I didn't really think about what I was getting into when I said I wanted to be a part of Canada Cups, and if I thought about it for more than half a second I would have totally chickened out - I was 100% a newbie, and to be really honest with you guys, I was in WAY over my head.
Making bras is crazy intimating, you know?
So you guys can imagine my relief when I discovered we were partnering with Craftsy to make this tour super educational for you guys reading along. They gave a lingerie-making class to each of us on the tour for free so we could share some new knowledge and a review. If you haven't heard of Craftsy, they offer really informative sewing classes (and other crafts too, but we all know sewing is the best) that never expire that you can watch from the comfort of your own home in your rattiest PJs.
I wasn't too sure how I would feel about learning something as seemingly difficult as bra-making through some online videos instead of an in-person instructor, but I became pretty sold on the idea once I realized I could watch my entire class on my phone while taking a bubble bath - My kinda learning. I enjoyed the class so much that I decided to become an affiliate, which means I'll get a small kick-back if you buy anything using one of the links here - FIY. I did this because it's easy to get behind a company that allows you to learn tricky techniques from the tub... if only my degree was administered this way!
When it came time to choose our classes, I was praying I wouldn't end up with Sewing Bras: Designer Techniques - a class all about hacking your existing bra patterns into something extra-stunning. I was a bra-newbie, and the last thing I wanted to do was start cutting and slashing a crazy complex bra pattern. Not to mention, I didn't really see the value in hacking my bra pattern - don't all bras kinda look the same anyways?
But as luck would have it, Designer Techniques was the class I got.
So with a few deep breaths and a little sewing courage I dove into the class, and let me tell you, it was the best sewing thing that's happened to me in a LONG TIME.
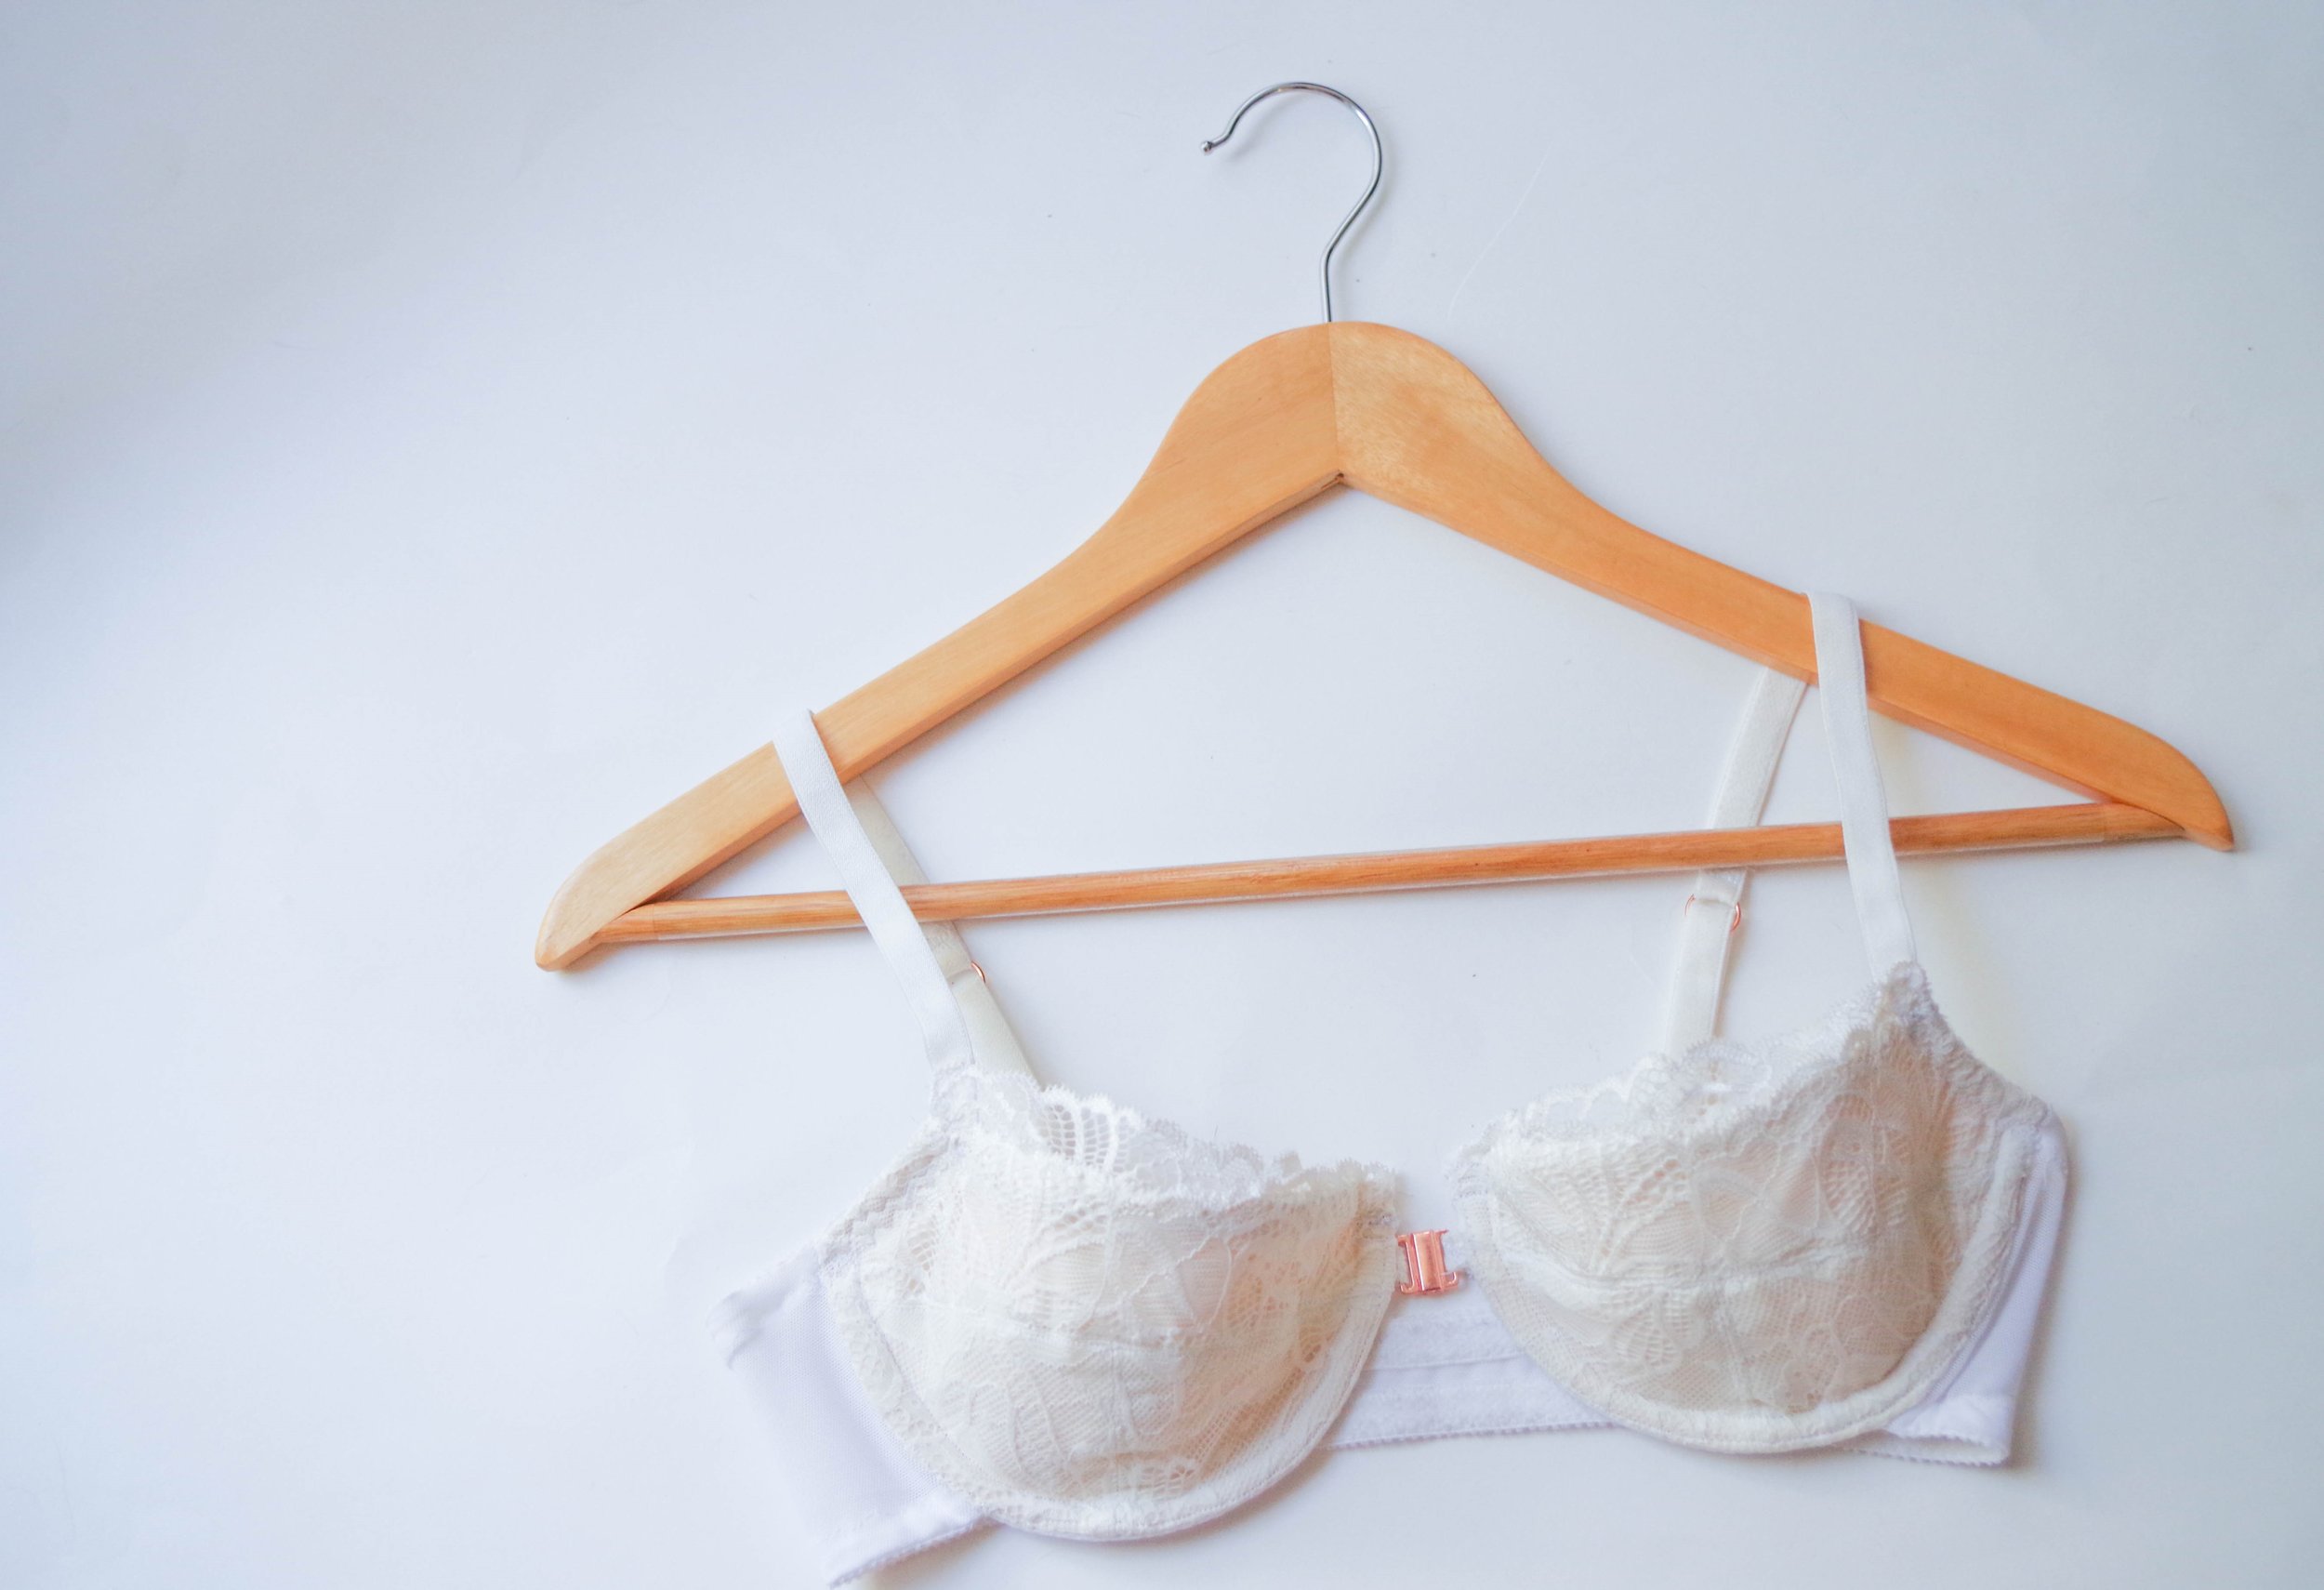
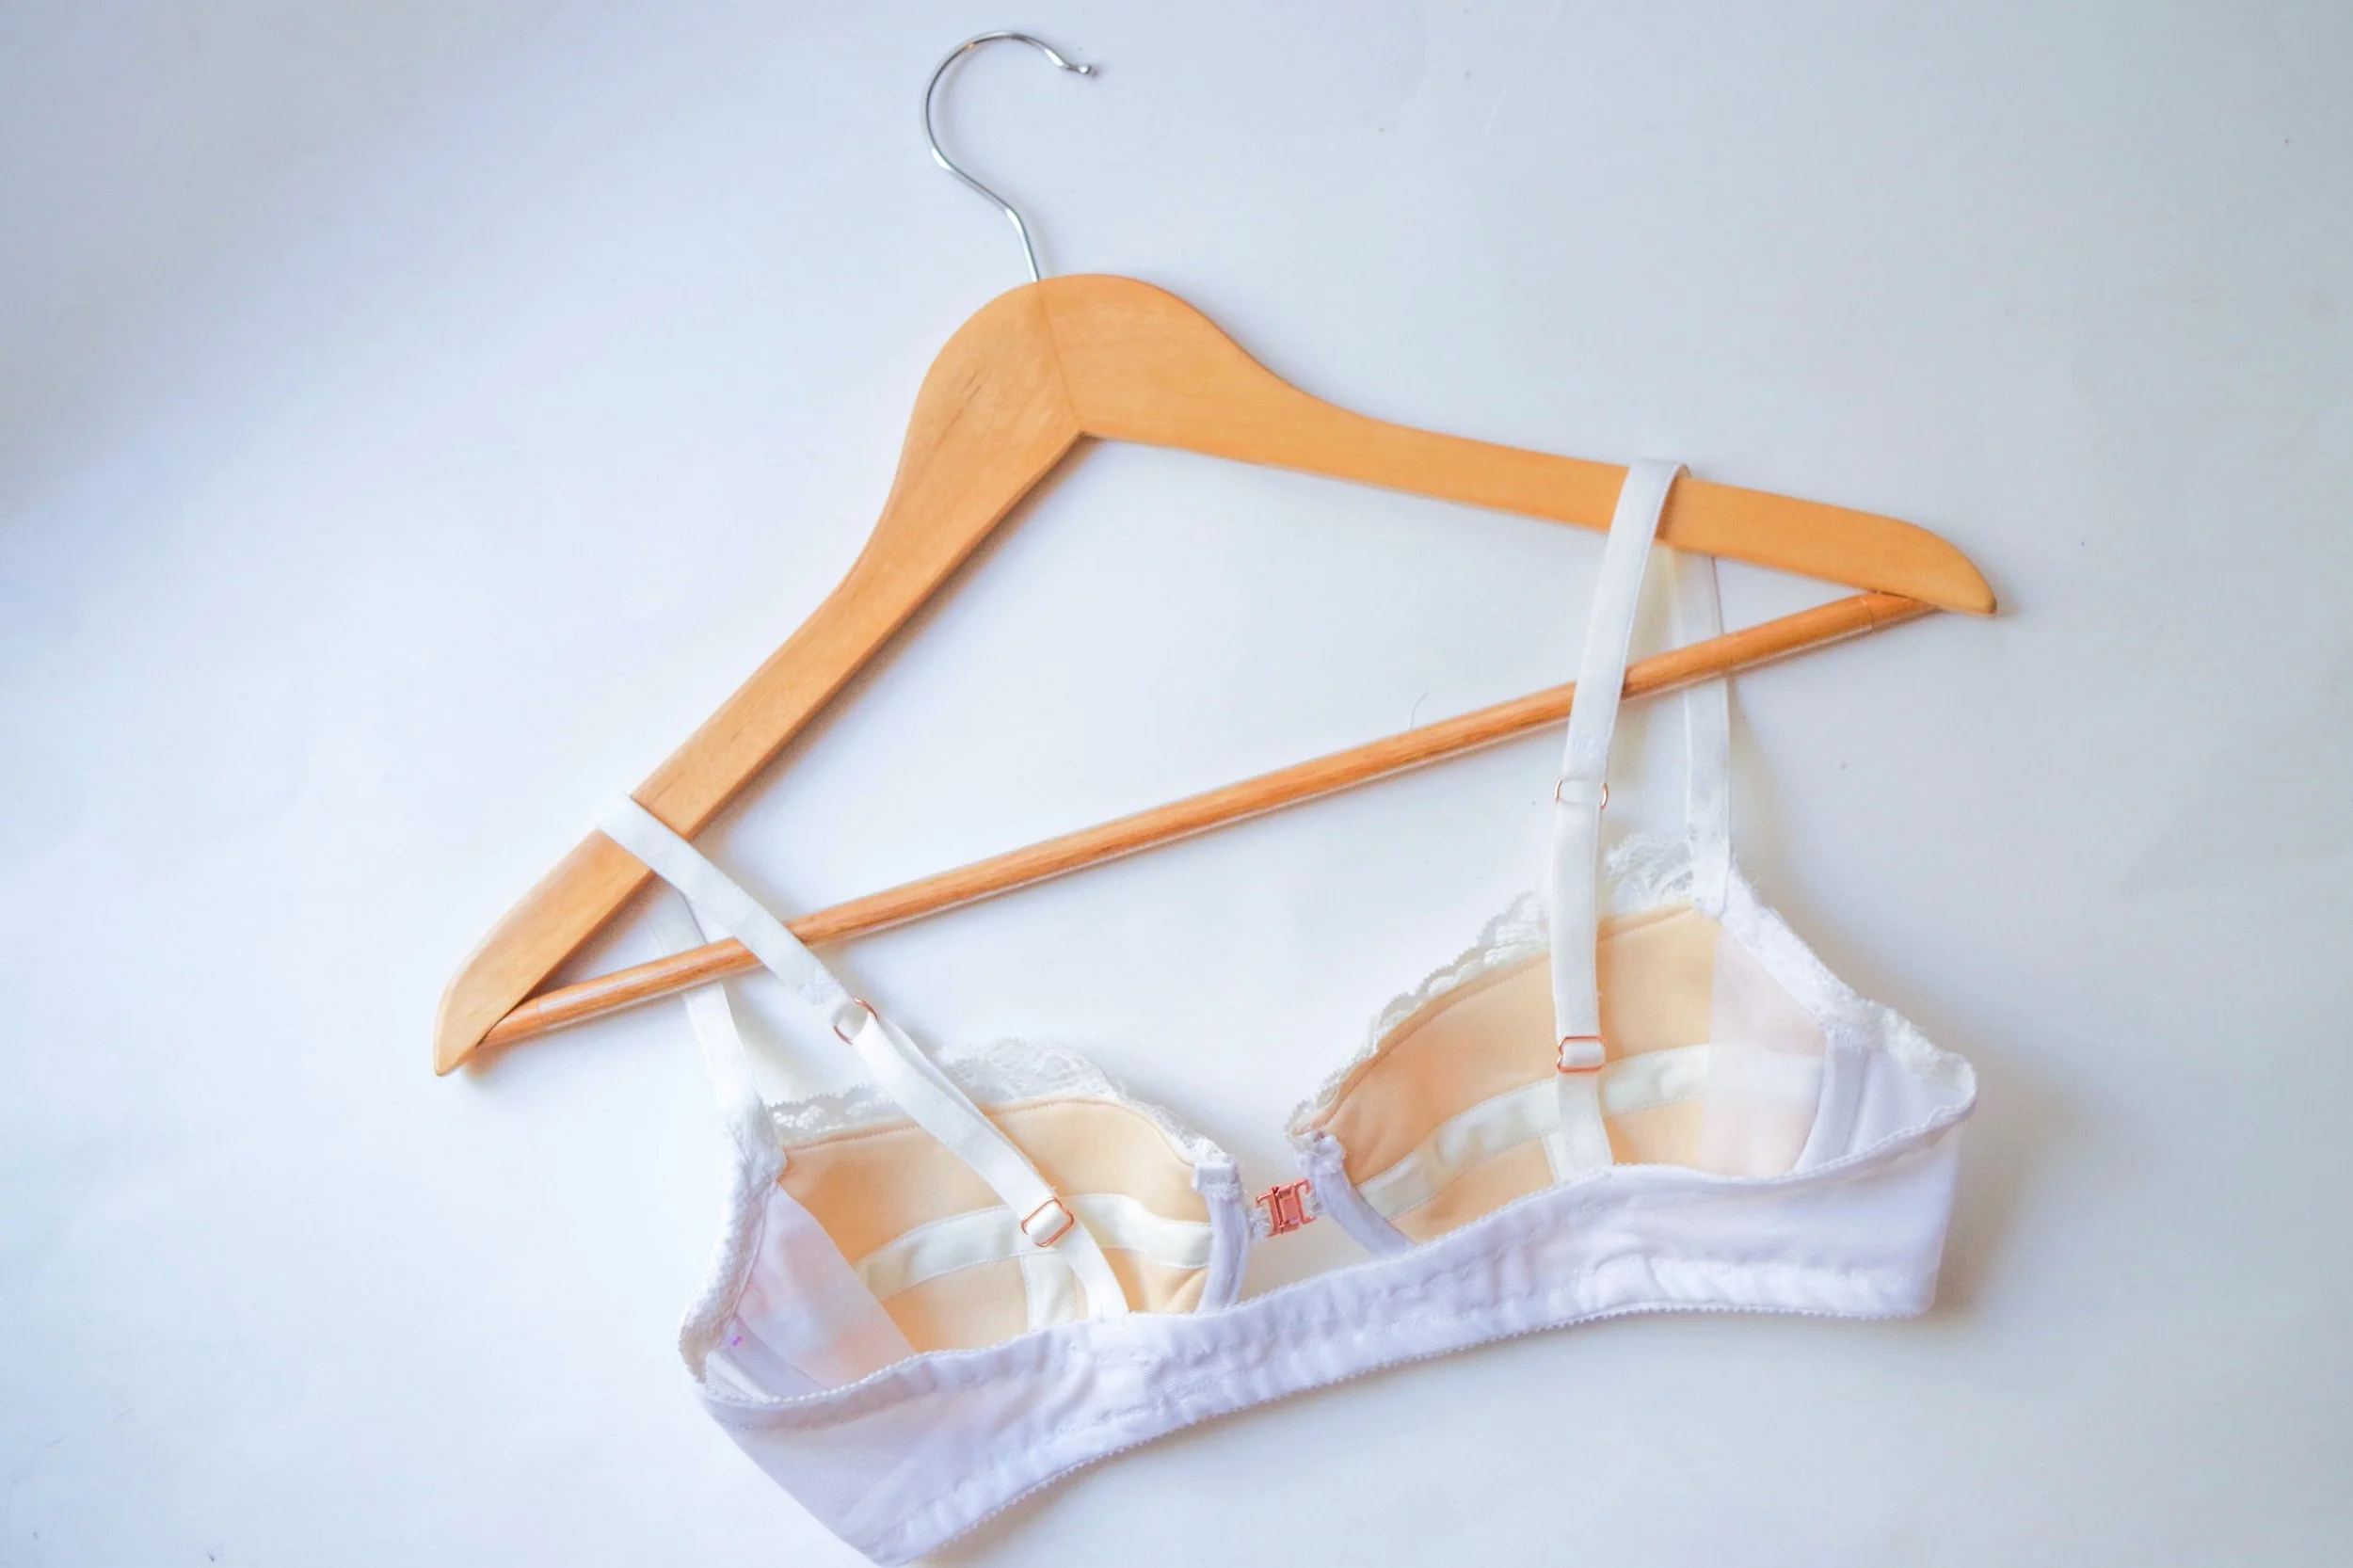
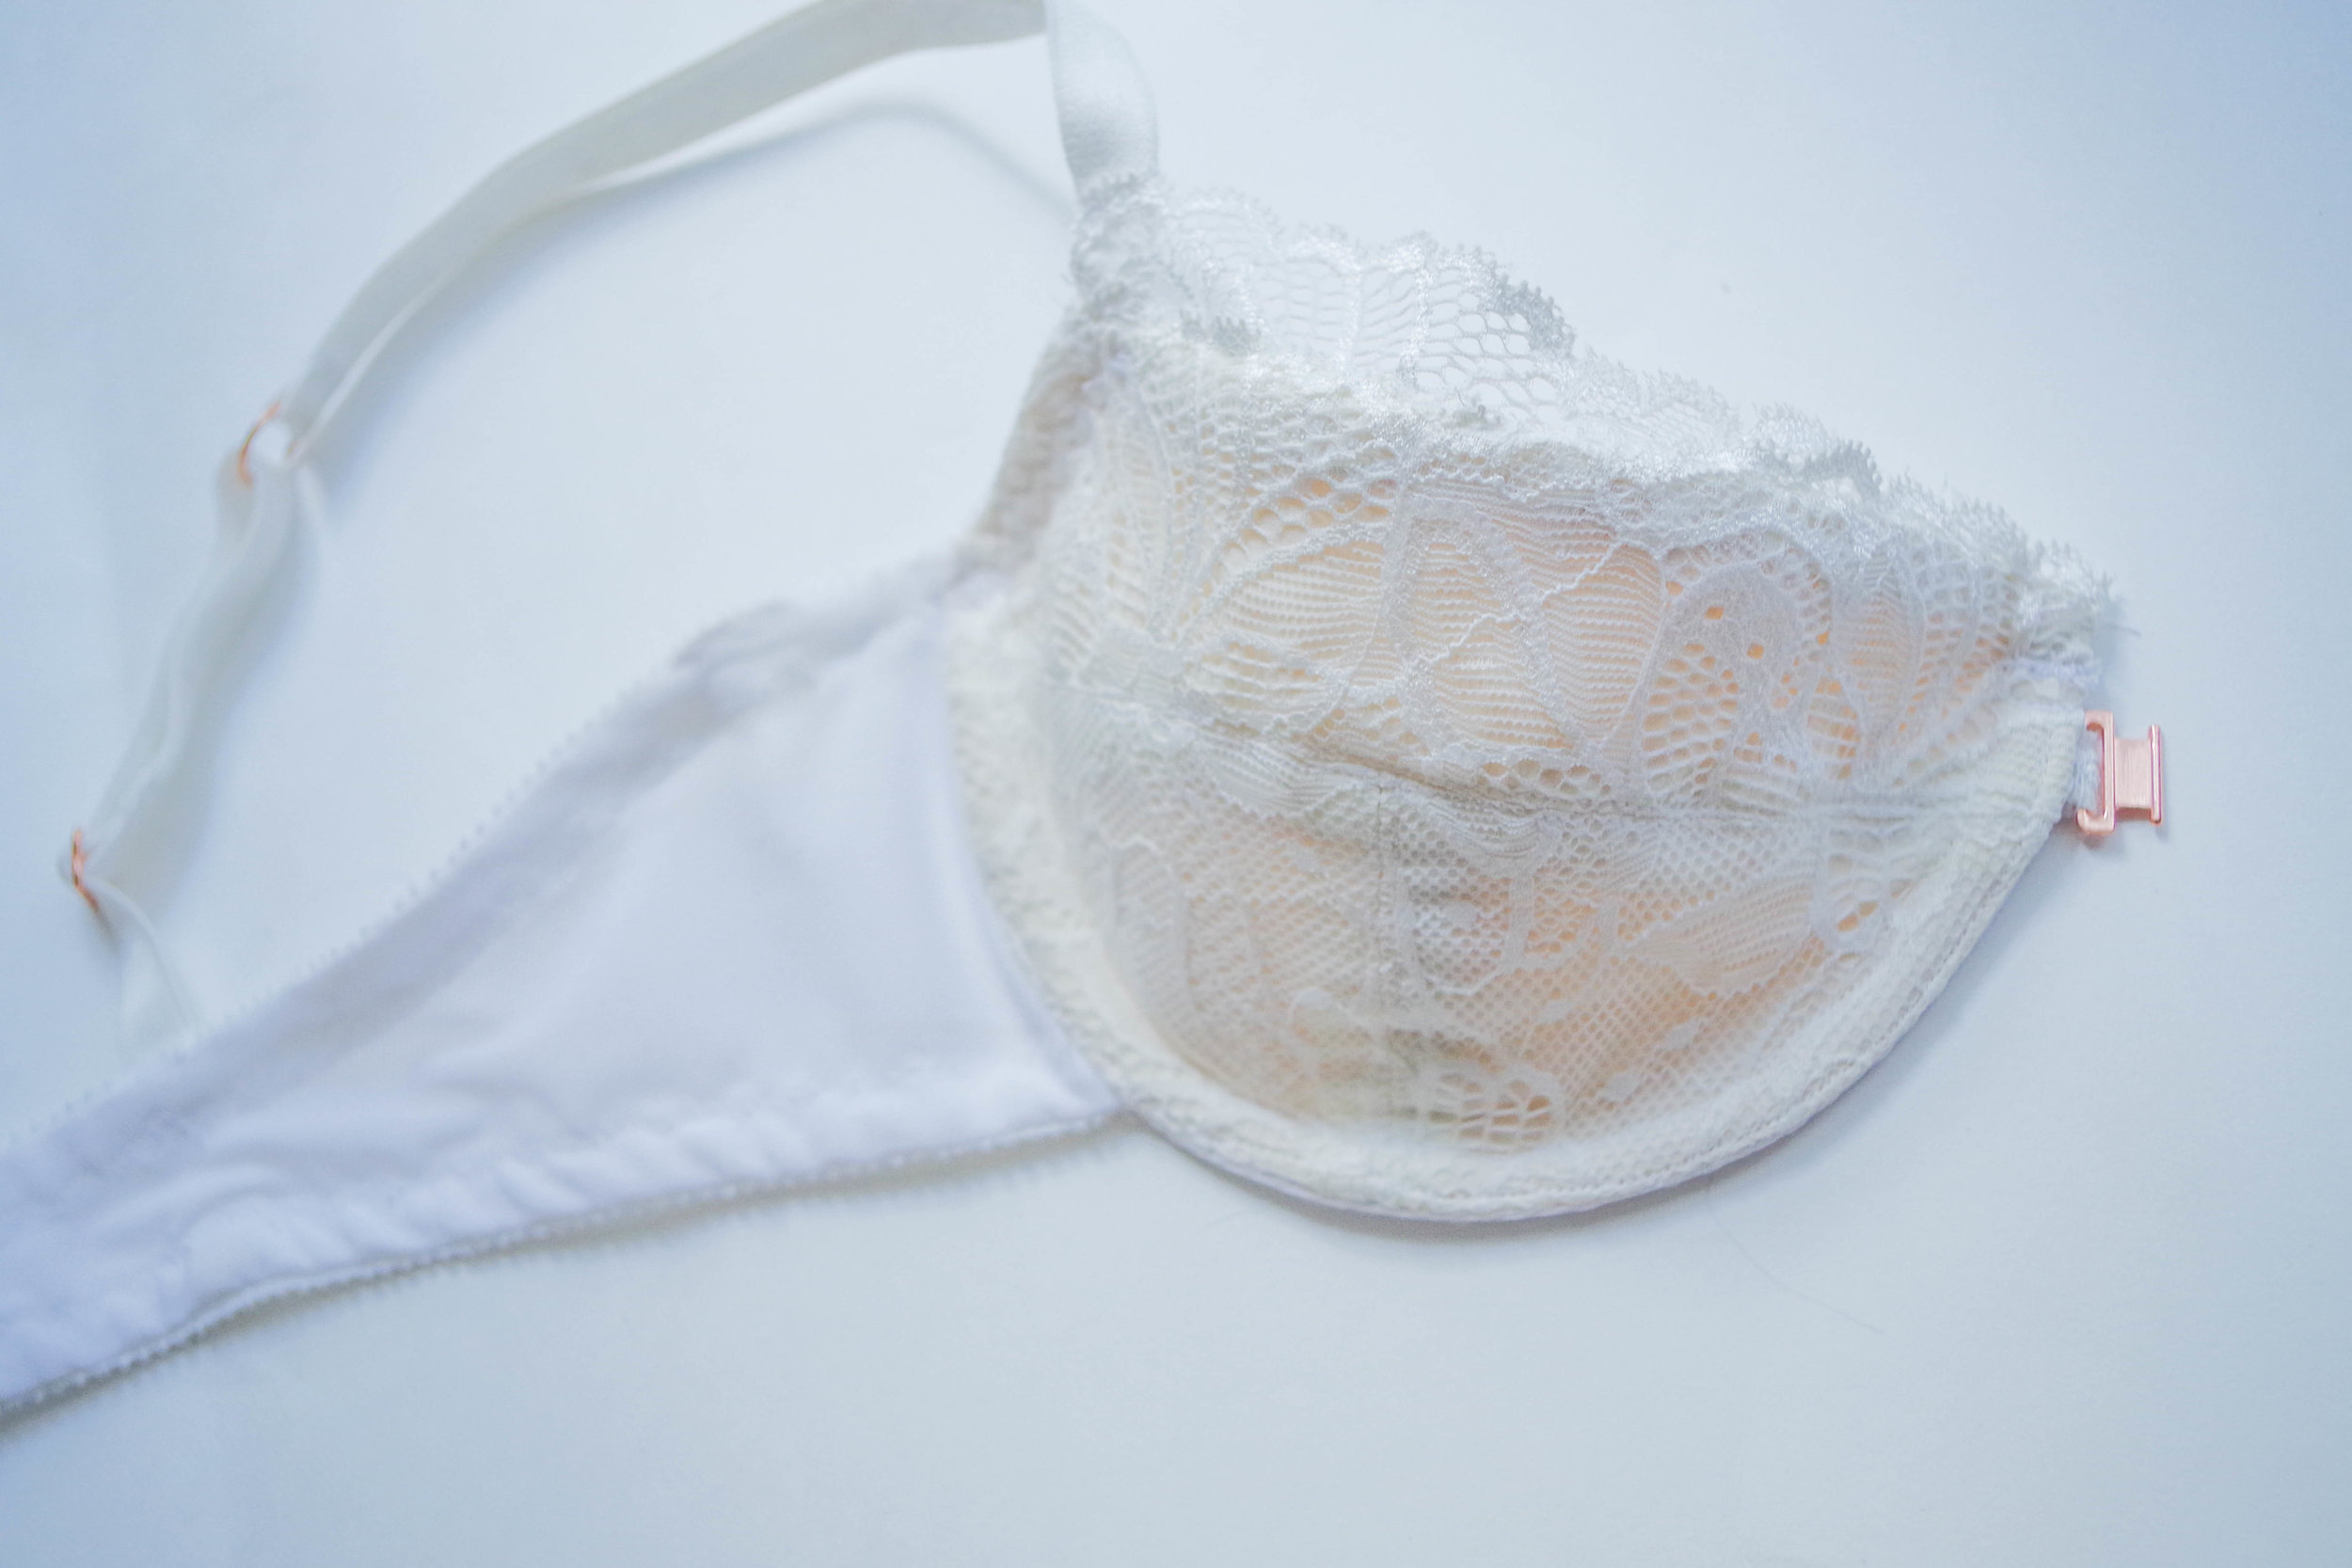
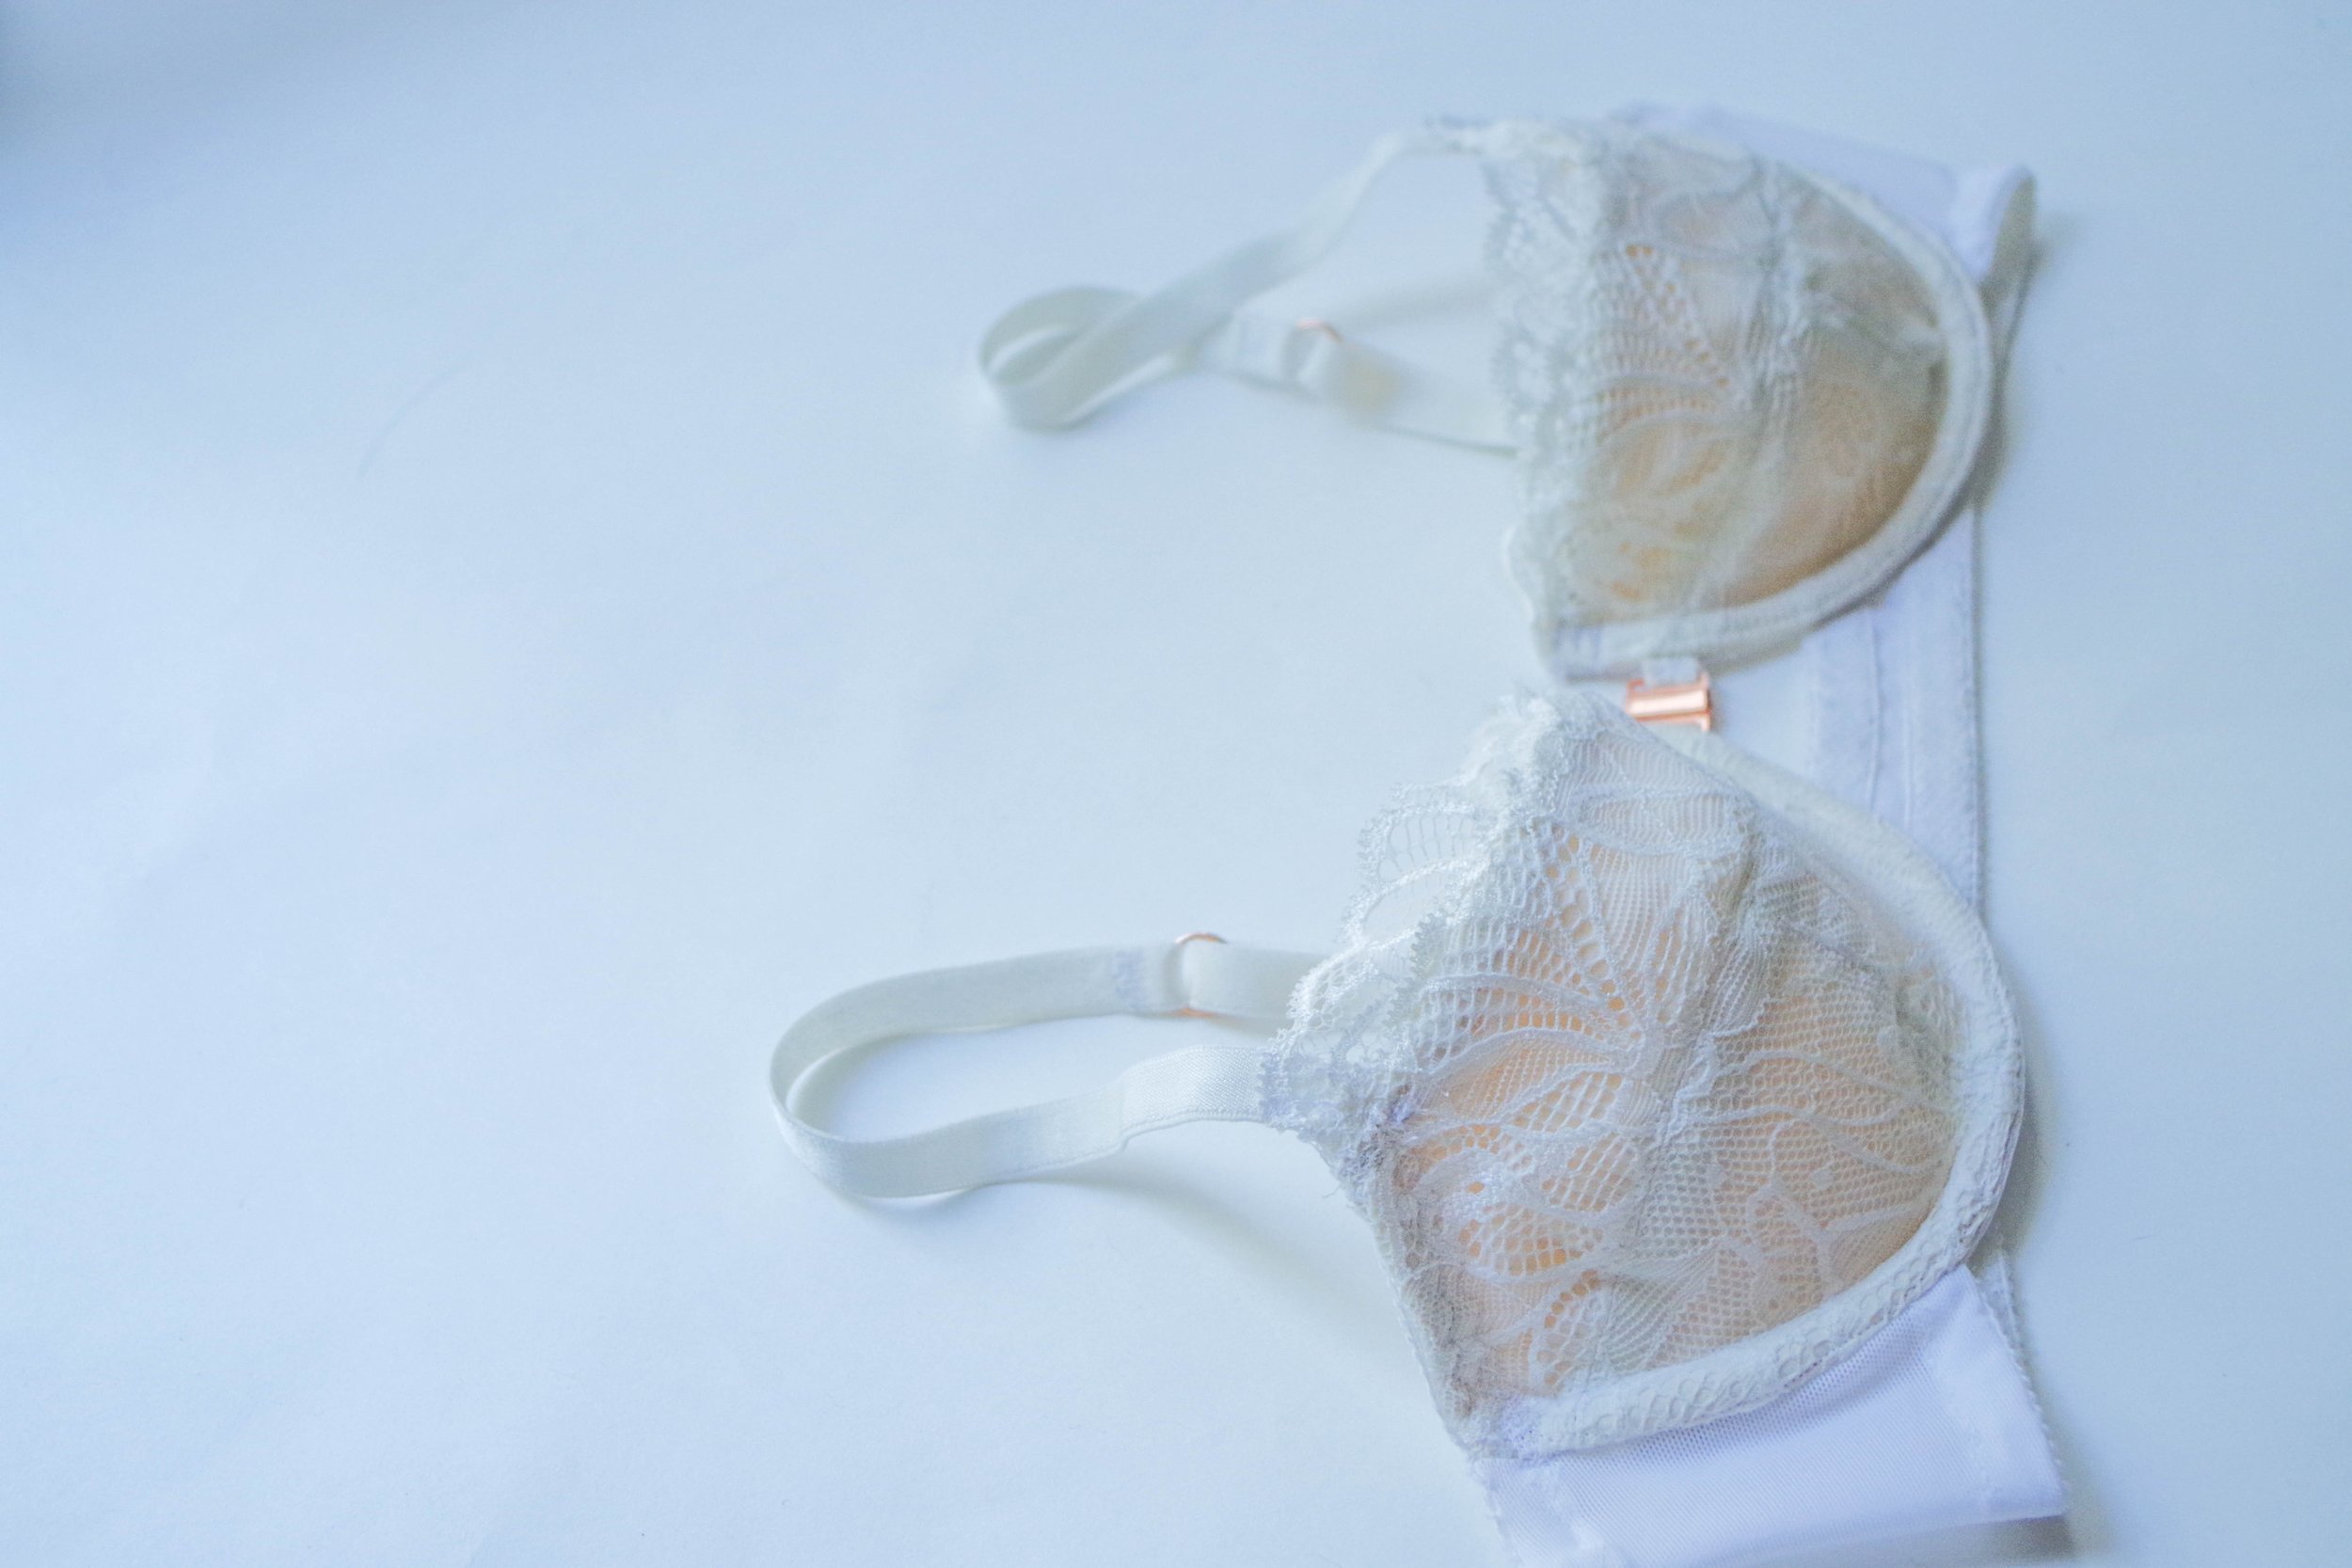
I went from sewing my first basic Boylston bra, full of fear, to hacking the pattern with absolute confidence into a bra that looks nothing like the original in just two projects. Check out the difference between the first bra and second, they hardly look like the same pattern anymore.
And it was all thanks to a little help from the Fairy Bra Mother, Beverly Johnston - Thanks Bev!

CLASS OVERVIEW+ MY EXPERIENCE
Sewing Bras: Designer Techniques is all about teaching you how to hack up a bra pattern that you already feel comfortable sewing and fitting into a totally fresh look. If you can dream it, there's a good chance the Designer Techniques class will teach you how to hack it. I worked through the class with my trusty Boylston bra since I was familiar with the pattern already and I knew so many of you readers have it in your stash.
Beverly covers seven lessons in the course:

1. How to hack your existing full band pattern into a partial band bra, a style used often in RTW - Check out your favorite lingerie store, and I bet you you'll see lots of partial bands there. It's a beautiful, delicate look that I didn't realize how much I would like until I hacked it.
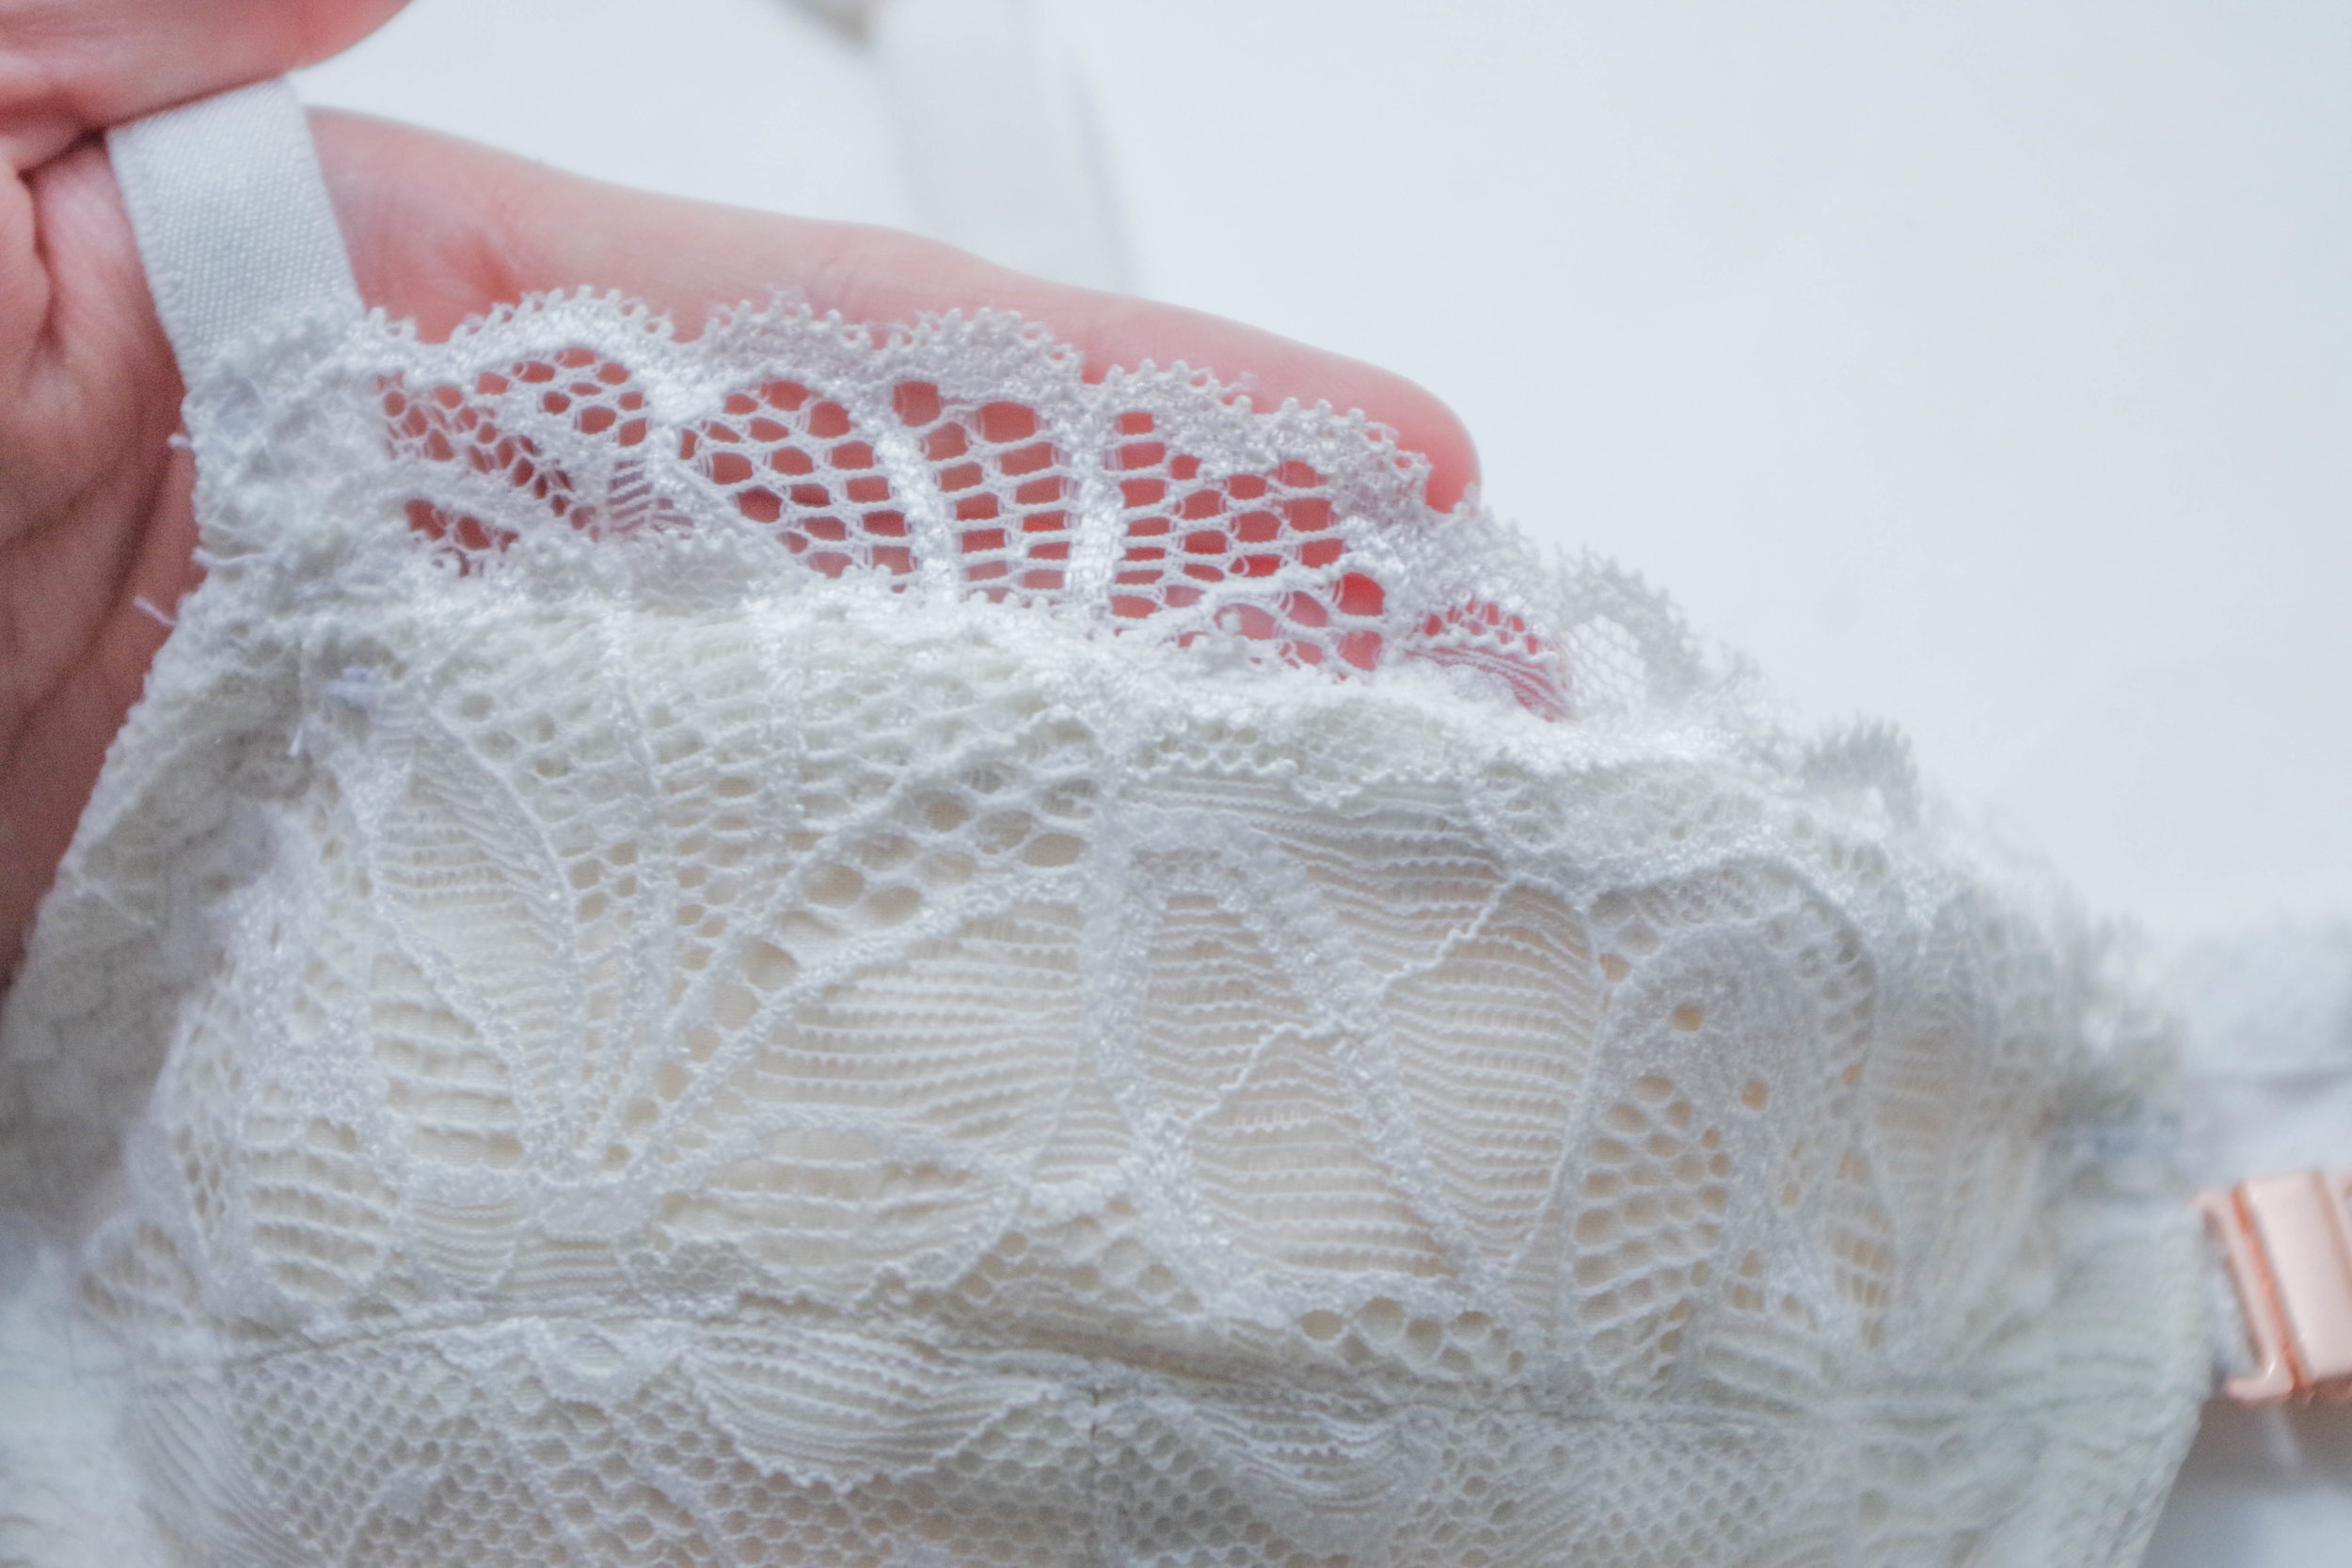
2. How to hack the upper cups and straps. The Boylston pattern has really thick fabric straps, which lends to a nice vintage-y silhouette, but doesn't match my personal style. When I made my first version, before taking the class, I didn't have the confidence to alter the straps into something I liked better, but after watching the second class I quickly hacked up the top to make them out of elastic by straightening the top - it also made it easy to add some scalloped lace to the edge! It was simple to do with Beverly's help, and now I like the final pattern SO MUCH MORE.

3. How to hack the frame. This lesson covers a lot of fun modifications, like adding and sewing a Gothic arch, dropped bridge, keyhole, and my personal favourite, adding a front closure. If you don't sew bras regularly, the phrase "Gothic Arch" probably doesn't excite you, but when you start deconstructing the design elements of your favourite RTW bras you'll notice Beverly gives most of the tools you need to recreate anything you could dream off in this lesson. I chose to hack in the front closure so I could show off this amazing rose gold hardware I got from Tailor Made Supply - YUMMY.

4. How to hack the back. I thought the back of a bra pretty much always looked the same, this lesson proved me wrong. If you love a more sporty styled bra, you'll really love the Y-Back band shown in this lesson. I followed her instruction for hacking the back of my bra to accommodate the front closure and it fit perfectly!
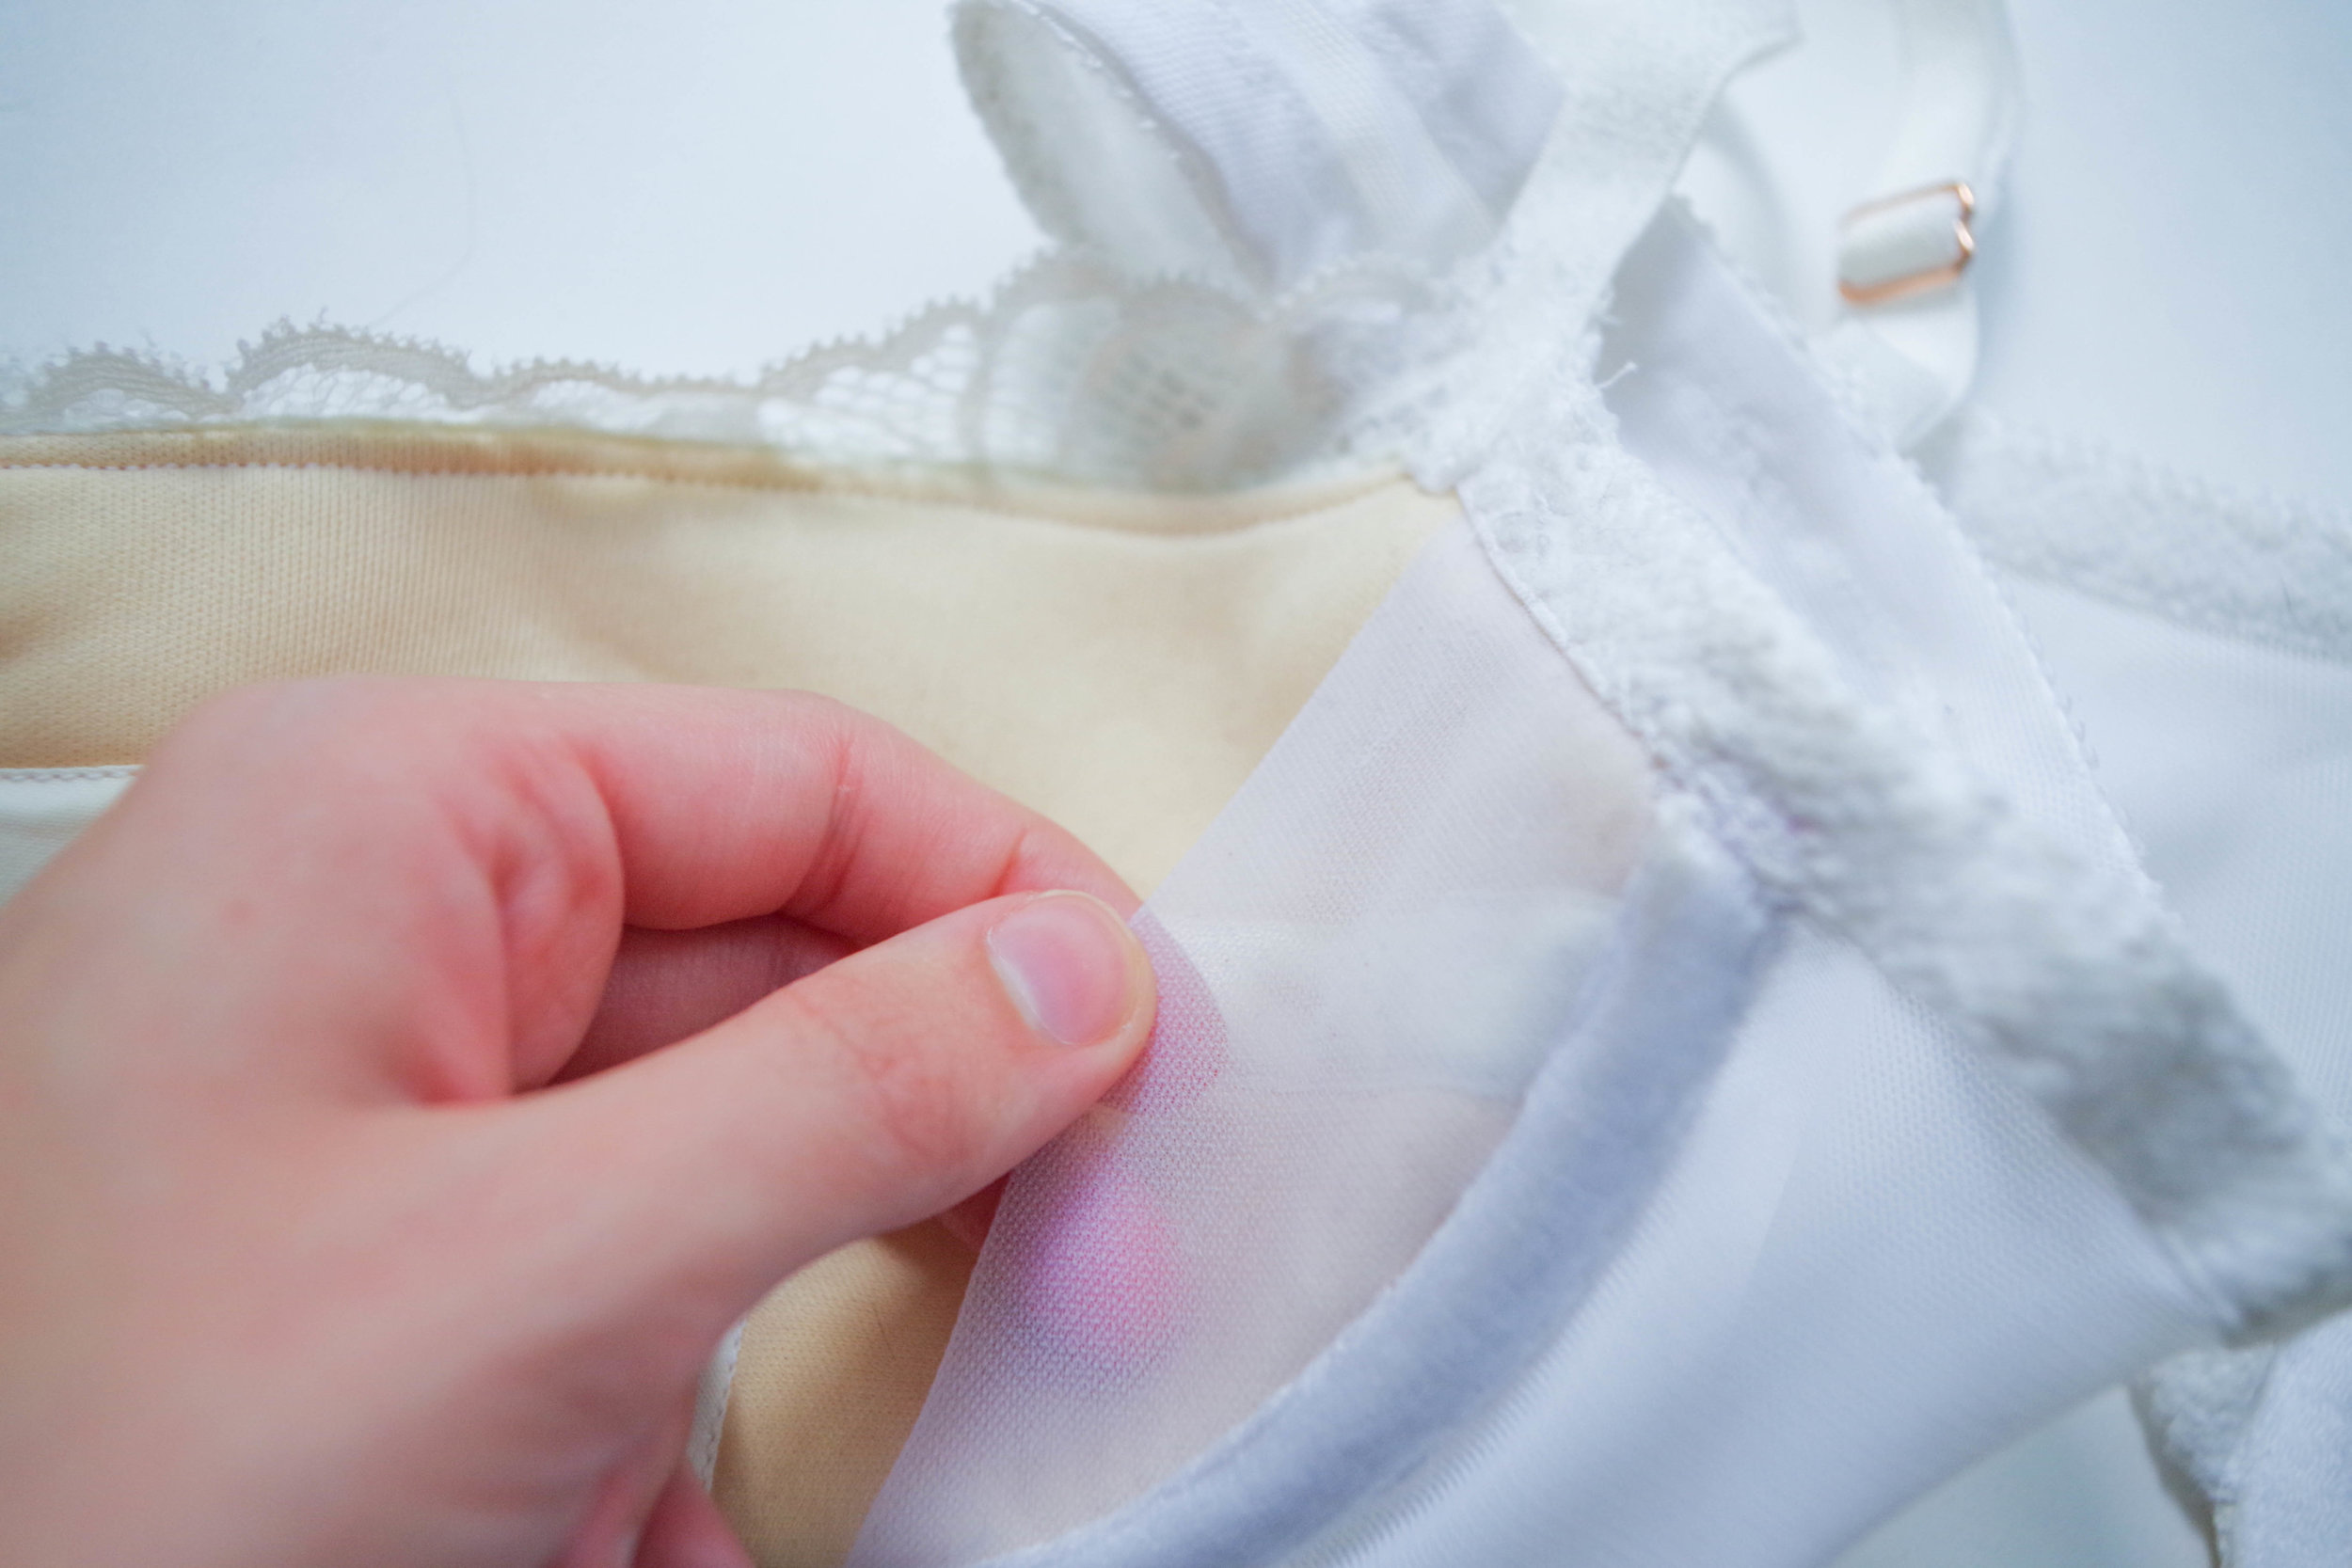

5. How to draft a power bar. This was my favourite lesson in the whole course. Power bars sound pretty inconspicuous, but they're going to give you the cleavage of your dreams. I followed Beverly's guide for an internal power bar made with some 15 denier nylon tricot and am AMAZED with the difference it has made for my silhouette. Now that I have a power bar pattern drafted for this bra, I'm never going back.
6. How to modify the seam lines of your cups. This is the heavy-hitter drafting lesson all my fellow pattern making geeks will adore. Before taking the class, I kinda thought all cup seams were more or less the same - I was wrong. There is so much you can do with cup seams to change the overall look of your bra! While I didn't use any of the hacks shown in this lesson (I figured the first five were enough for a newbie) I know I'm coming back to make a vertical seamed bra sometime soon.
7. How to hack side-to-side alterations. A lot of the information in this lesson helps to balance asymmetry in your bust, which is really helpful, but not something I am particularly worried about. One really helpful hack Beverly showed here was how to make foam push-up cookies, and how to add pockets to your bra to stuff them in. I didn't work through that alteration, but I plan to for my next bra, because this flat-chested lady needs all the help she can get.

FINAL THOUGHTS
Like so many other ladies, my experience buying RTW bras hasn't been great. I'm small framed, and therefore small in the band, wearing an impossible-to-find size 28. I can't walk into a store in the mall and buy a bra, and going to a specialty store has always felt like a nightmare where I had to choose function over beauty.
Bras are utilitarian. I need to wear them for my everyday comfort. Buying a bra in my size was a herculean task, and I gave buying something "pretty" forever ago. My thought pattern while trying to find a bra was like: "Ok, that's a bra, looks like it might just hold my boobs in place all day" instead of "Wow, this is so stunning I'm actually excited to wear it".
I have this "it will do" mindset when it comes to bras - How many of you guys are in that same boat, or where there before you started making your own bras?
I'm willing to bet there's a lot of you guys.
And that's why I enjoyed this particular class so much. Its busting me out of the "it will do" mindset, and turning it into a "let's make this beautiful" mindset. It opened my mind to a bunch of different design details that I never would have paid attention to otherwise, and I will continue to experiment with this foundation of techniques in all of my bras to come.
I loved my first Boylston, made with the standard pattern and no adjustments, because it fit and had some lace on it. It's nice, don't get me wrong, but at it's core it was an, "it will do" bra.
My second Boylston, on the other hand, is something I love because it is truly beautiful. The shape and design elements were all chosen to flatter my frame and match my tastes. It's not JUST comfortable, it's so much more... and that's what making your own bras should be.
I'm going to tie up this beast of a post by saying I truly love this class, and will keep using the tips I learnt in all my future bra makes. It's given me not only the tools I need to hack my bras, but also the inspiration I needed to start getting creative with the bras I made.
And let me tell you, I'm never going back to the "it will do" type of bra EVER again.
If this post has got you thinking about maybe hacking up your favourite bra pattern - you're in luck! Craftsy is going to be giving away a bundle of 3 classes of your choice to one Canada Cups reader, and all you've got to do is click their logo below to enter.
PS: Even if you're not our grand prize winner, you might find that Craftsy offers you a pretty sweet deal on their classes after you click through... just saying ;)
PSS: As I mentioned earlier, this is an affiliate link. If you take advantage of their kickin' deals I'll get a small portion back to spend on more bra supplies to make more bras for you guys to check out!
Giveaways
Click the image below now for a chance to win a bundle of 3 Craftsy classes (your choice). This will teach you all the skills you need to sew your own lingerie, as well as many other sewing skills:
- complete kits to make your own bra,
- bra- and swimsuit-making classes,
- fabric, and more ...
Tour Schedule Itinerary
Follow the magical tour to see what we all have under our clothes
♥
Sunday, September 11
- Beverly, our Fairy Bra Mother, launches with her airy fairy introduction
♥
Monday, September 12
- Valérie, la Élégantine, gets us airborne with some lingerie of her own, même en français & Her Bosom Buddy Michelle S. from Little Heart Threads, balances with more sweet lingerie
- Lisa who drinks Glitter in my Coffee brings us an Uplifting post
- Rachel of The Wild Stitch manages a little tête-à-tête with Emerald Erin
Tuesday, September 13
- Lisa fits right in as a new Pin Up Girl & Her Bosom Buddy, Shelaine, also makes her first bra
- Rachelle gets up close and personal with Carrie from With Love Lingerie
- Valérie returns with a whole new Bosom Buddy to tell us about Miss Maika Fabrics (This girl gets around!)
Wednesday, September 14
- Rachelle gets to the bottom of things with her review of a Craftsy class & Her surrogate Bosom Buddy Michelle N. from Michelle's Creations dishes on the same Craftsy class
- Jessica from Gracious Threads gets the skinny on our Fairy Bra Mother
- Deb of Sprouting Jubejube chats with Emilie from Jalie
Thursday, September 15
- Karin gets chaotic (twice!) with corsets at Mrs. Weaver's Finest Unmentionables & Her BB Marsha flies by the seams of her pants into the corsetry web
- Shelaine is up to something and we have no idea what
- Michelle gets Mrs. Weaver to talk about her Finest Unmentionables
♥
Friday, September 16
- Wild Stitch Rachel tries her hands at designing her own assets & So does her Cross Country BB Jess from the west
- Valérie est du rétour avec une entrevue de Blackbird
- Michelle N. takes us to a secret spot in the centre of things
♥
Saturday, September 17
- Michelle S. returns to talk to Wendy about her bespoke bras. Be what??
- Marsha gets a taste of what's behind Farthingales' corsets
- Meanwhile BBs Deb and Michelle N. go bottoms up in panties
♥
Sunday, September 18
- Marsha from Seam of my Pants guest posts on Farthingales for the wrap-up post
Whoohoo! It's giveaway day today!
♥
Monday, September 19
Have you entered the giveaways yet? Today's your last chance.
♥
Tuesday, September 20
Giveaway winners announced on all the blogs:
Life of a Fairy Bra Mother, Little Heart Threads, Glitter in my Coffee, Michelle's Creations, Mrs. Weaver's Finest Unmentionables, Braphoria, Gracious Threads, Élégantine!, Shelaine's Designs, That's so Venice, Sprouting Jubejube, Flying by the Seam of my Pants, The Wild Stitch, Farthingales Corset Blog
♥
After September 20
- Come back to visit all the blogs for followup posts. It's always fun!
- Craftsy class discounts expire at midnight Sept. 30
♥